Colour trends come and go, but with its association with nature, freshness, calmness, peace and harmony, you can’t go wrong with bringing green hues into your home.
With so many shades to choose from, you should be able to find a hue that matches your interior aesthetic; embrace shades like evergreen, sage, seafoam, green grass, forest green, kiwi, lime, spring green, celadon, jade, neon and more!
Whether you want to create a dramatic and moody study with rich emerald greens, a fresh and airy bedroom, or a living room with spring as your inspiration, we can help you find the lighting to match.
Learn where green lighting works best in the home, how to use green lighting to complement your interior and what colours go best with green lights in this guide.
Table of contents:
- Green colour theory
- Create a calming atmosphere
- Make a statement
- Green in bedrooms
- Green in bathrooms
- Green in studies
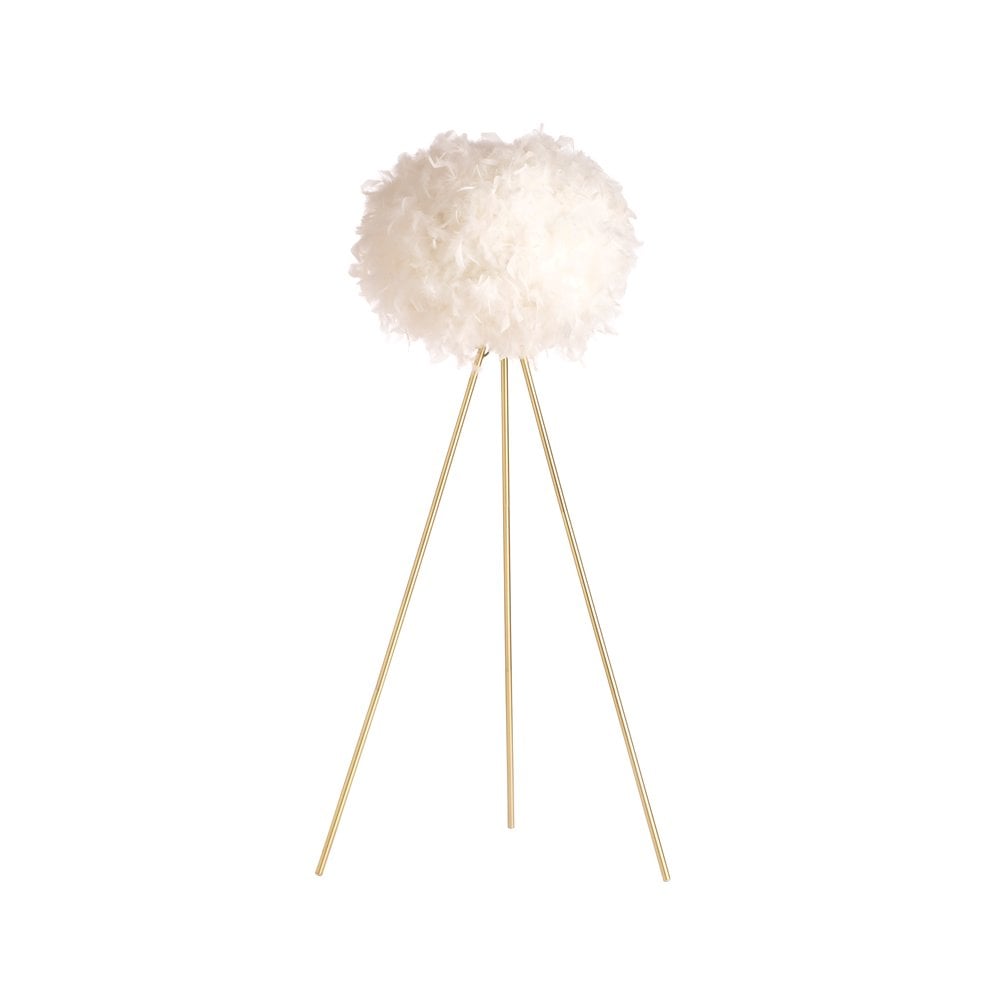
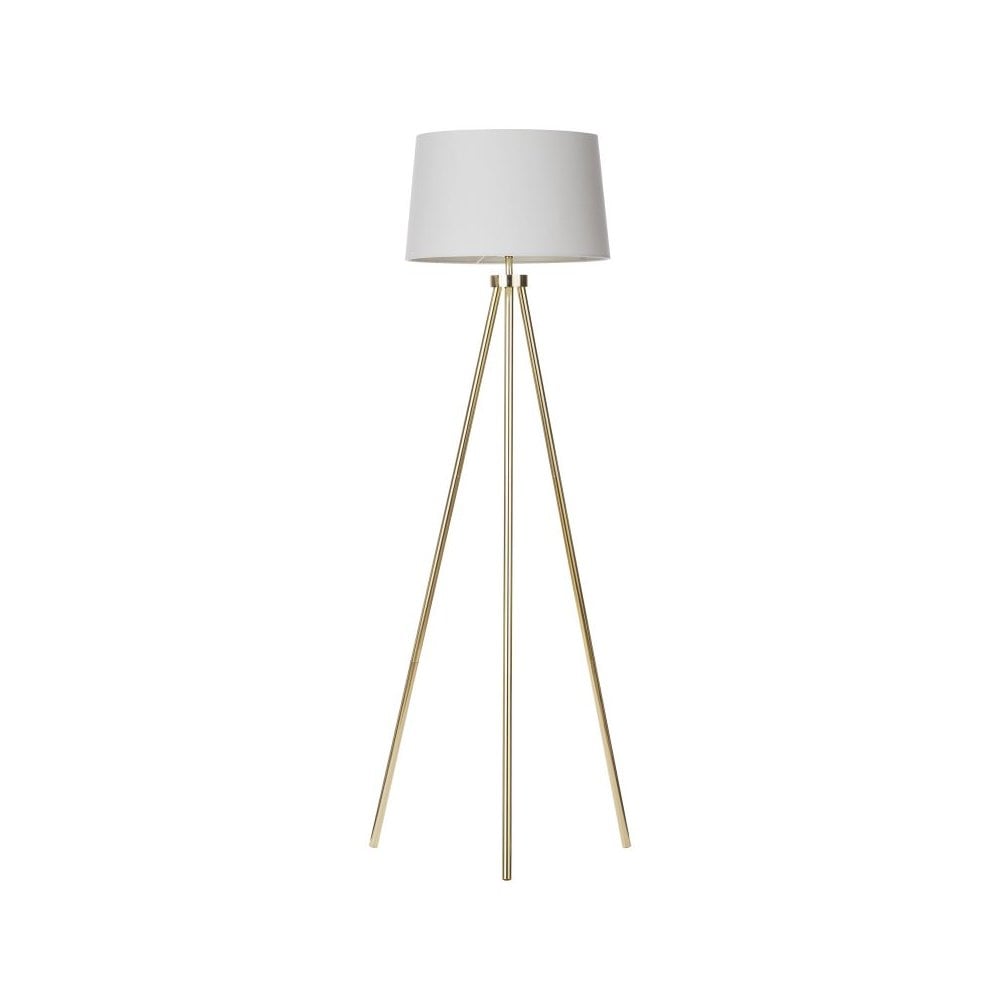
- Green lampshades
- Green table lamps
- Green pendant lights
- What colour goes with green?
Green colour theory
As one of the earth’s most common colours, green has always been associated with new beginnings, the promise of spring, life and growth, vitality and the defeat of winter. But throughout the centuries, it has had other meanings and associations which may interest your interior design inclinations.
Ancient civilisations fostered green pigments by soaking copper in wine, calling it Verdigris. But green, associated with wealth and richness, originated in ancient China. Celadon is a specific green used in ancient chinese pottery and porcelain prised by the imperial court.
Green, of course, is also often associated with money. Rich emeralds and greens have been used in banks, studies and drawing rooms to exude power, wealth and masculinity.
A particular shade of green that also became popular was the famous Beryl green crockery set by Wood Ware during WWII. Moving away from the green loved by the aristocrats, the Beryl green crockery was simple, unfussy and affordable, subsequently used in tea rooms, cafes, country houses, village halls and on cricket grounds up and down the country, earning it a place in the coveted vintage crockery category, with its retro look.
But green has also been associated with calming qualities. It’s even had a calming room named after it. “Green rooms” allow actors to centre themselves before performing in the theatre and TV studios.
Here are a few ways to use green lighting to create some of these associations in your home.
Create a calming atmosphere
One of the main ways you might want to use green lighting in your interior design is to create a calming atmosphere. Whether you want to draw in its calming properties used in “Green Rooms” or draw on the peacefulness of a calming spring day, green lighting is a great way to construct these evocations.
Simply use soft and light green hues mimicking sage, grass and pastels.
Make a statement

Richer, bolder greens can also make a statement. Use evergreen or emerald green to convey a sense of mystery and sophistication.
Now, find out where green features best in the home.
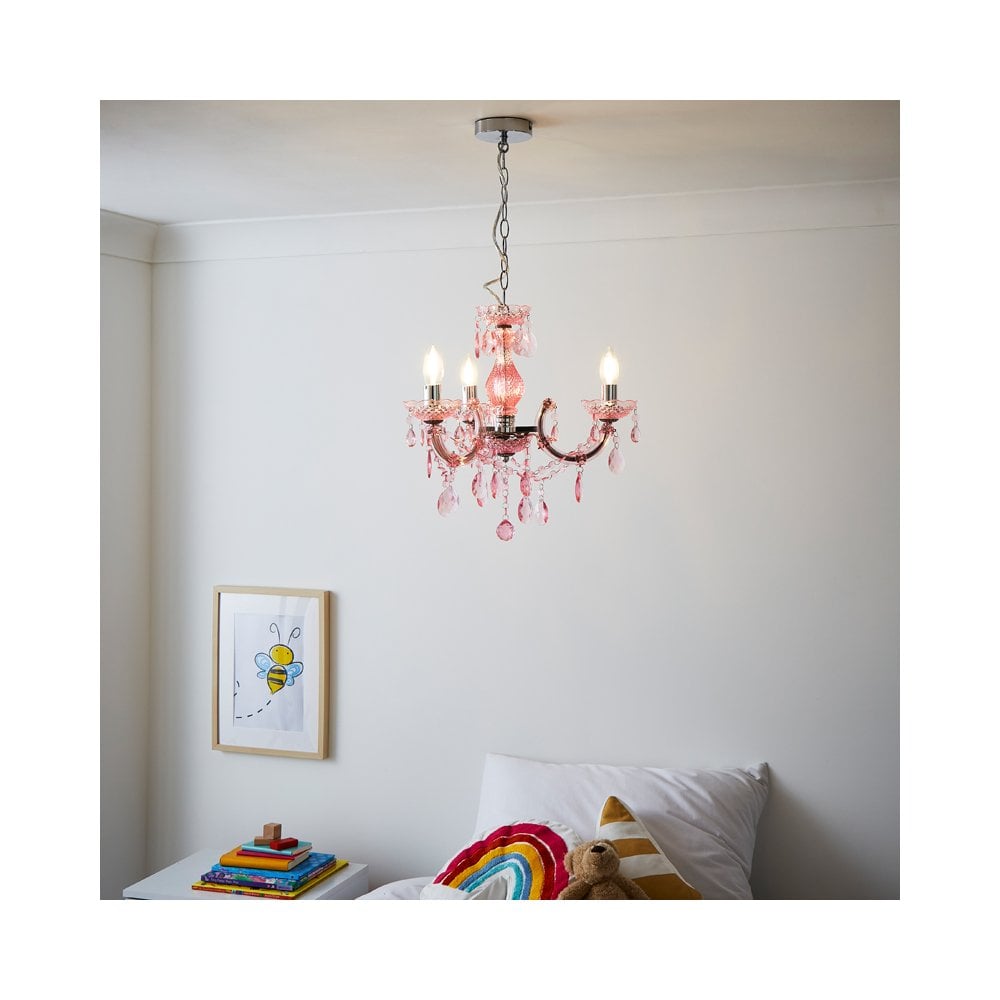
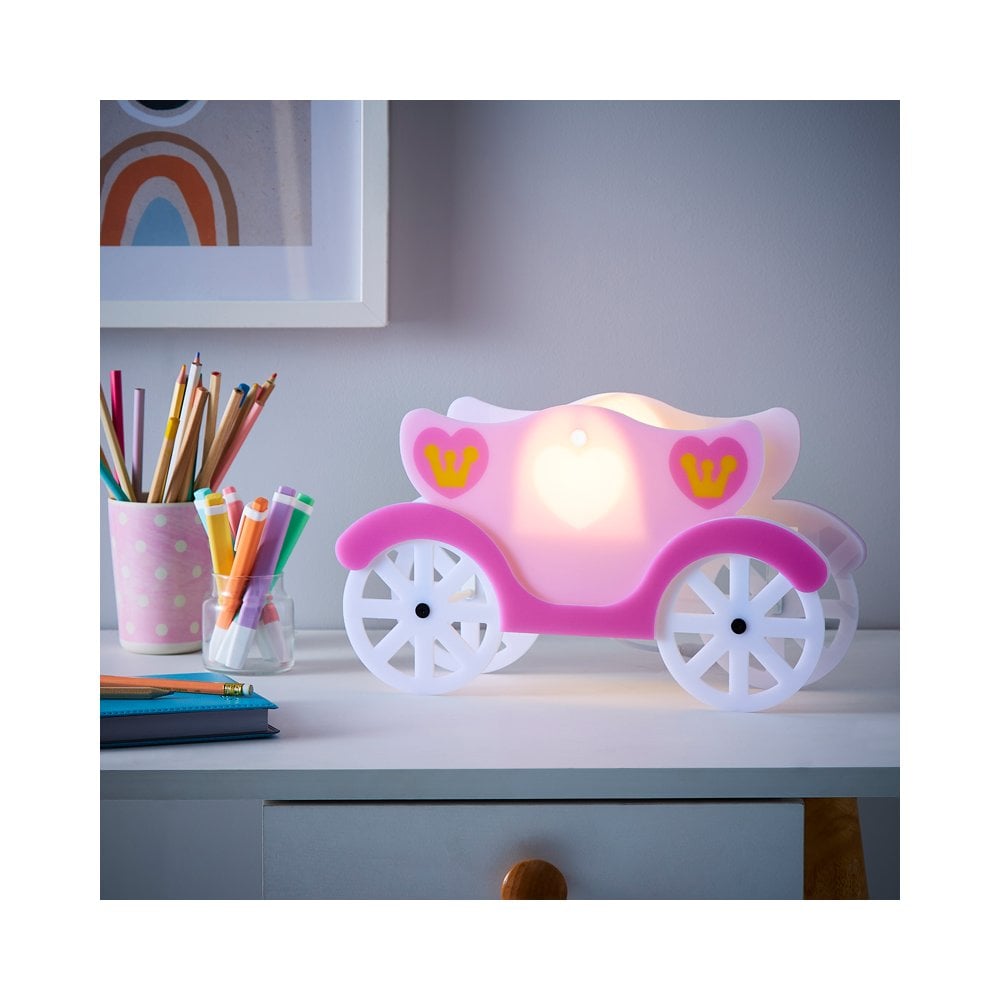
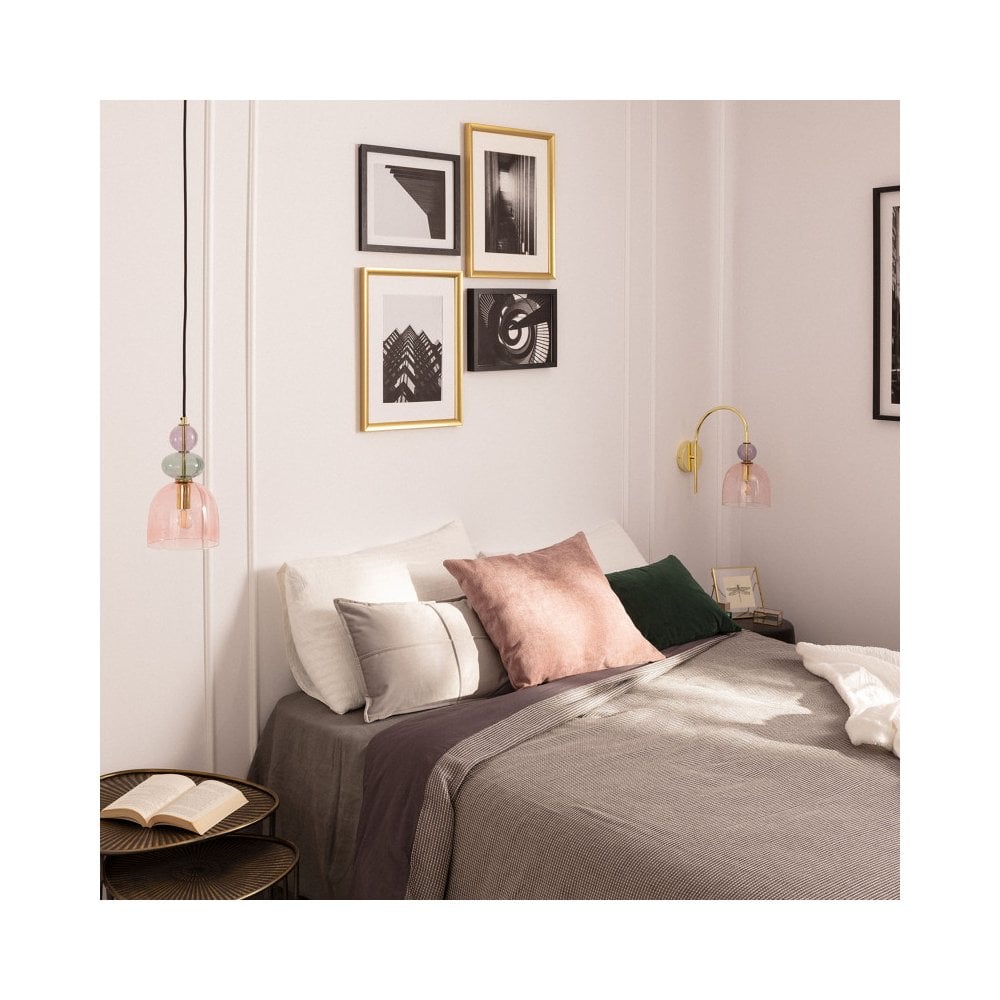
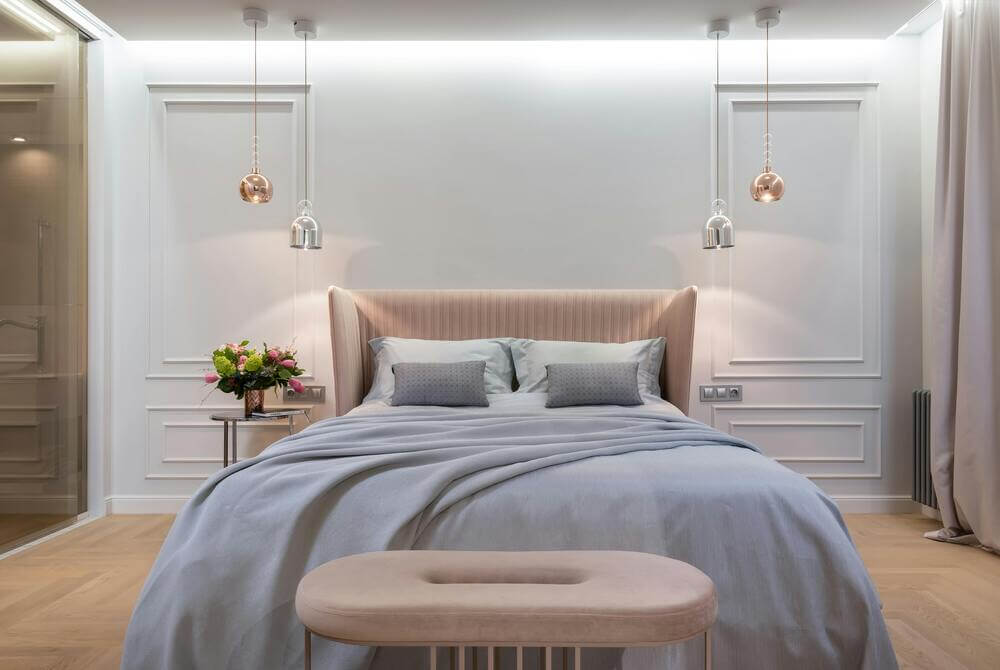
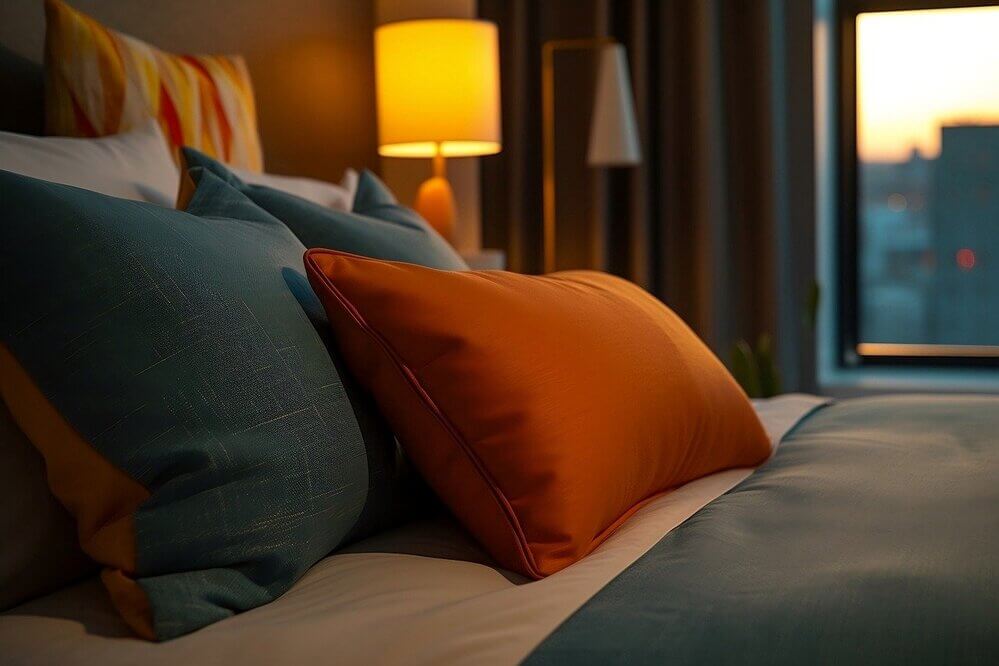
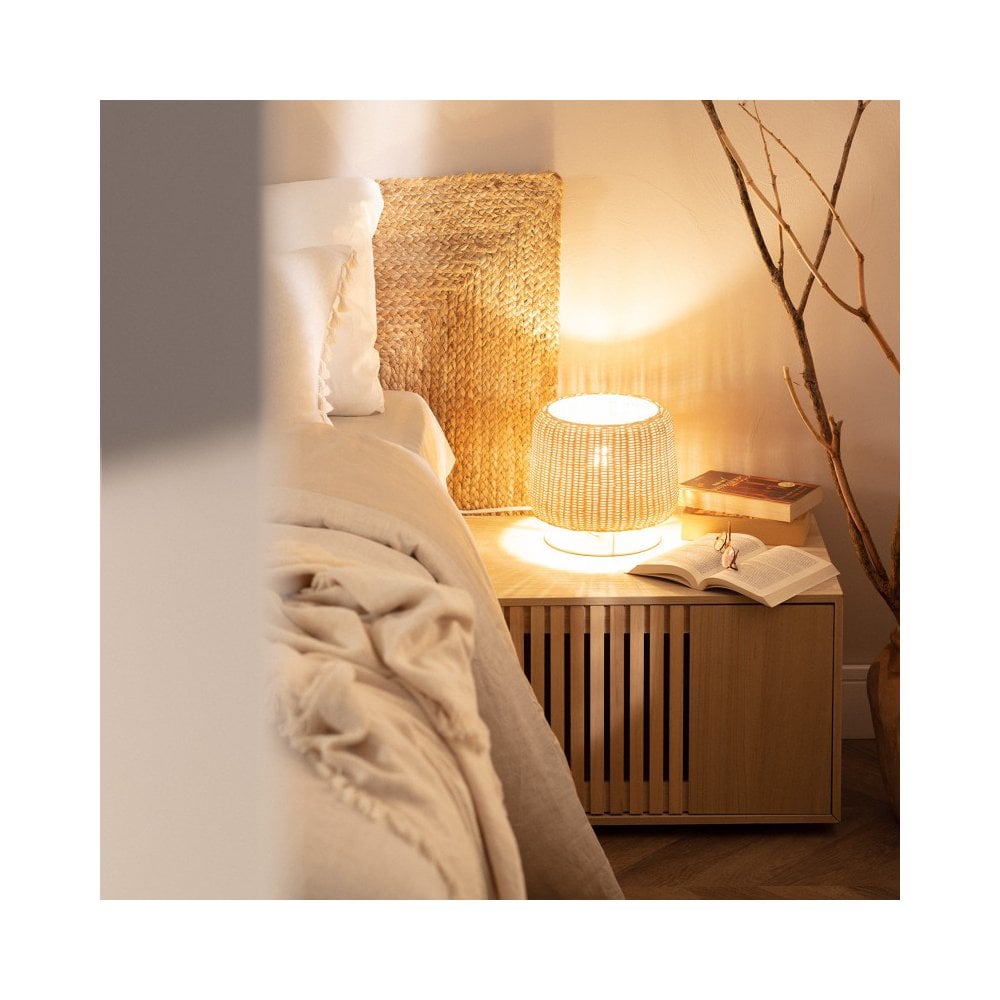
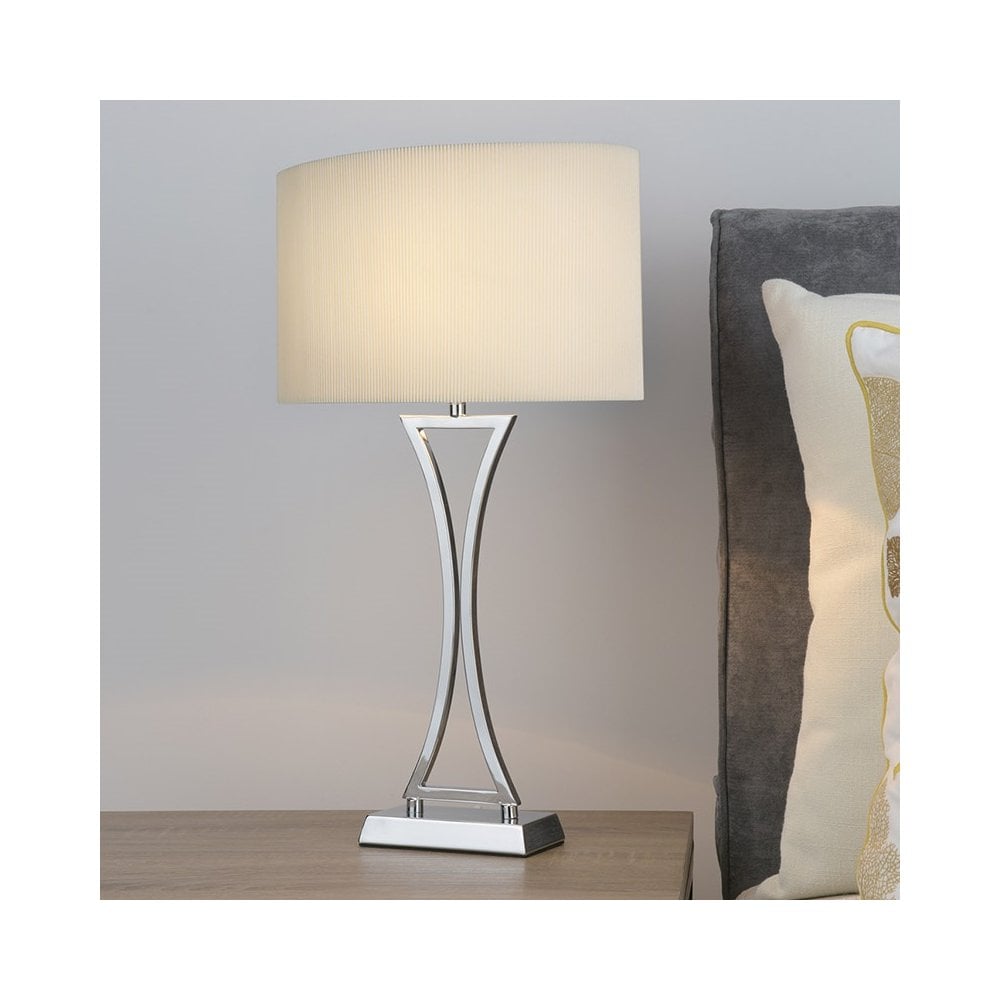
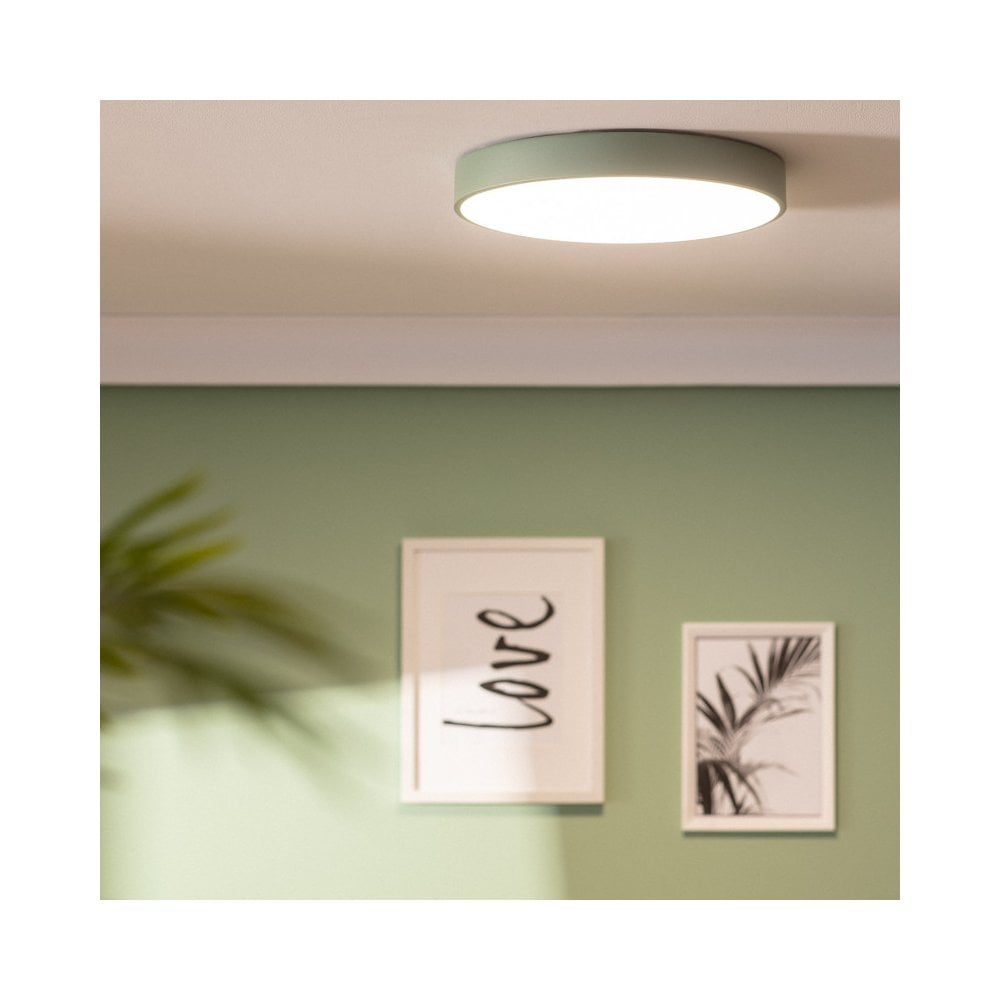
Green in bedrooms
Many interior designers favour using the colour green in bedrooms for its serenity and calming nature. Maybe pair your green lighting with a soft green shade on the walls, soft furnishings, bedding or headboard. Add multiple green shades and neutrals to create a green scape interlaced with soft textures and floral patterns to add depth and layering.
Finish with a green lamp with a soft linen shade to complete your calm bedroom.
Green in bathrooms
There are two ways you can incorporate green lighting into your bathroom. Green is associated with cleanliness and calm, so it’s perfectly placed in bathrooms. Opt for light, earthy greens for the perfect spring-clean look.


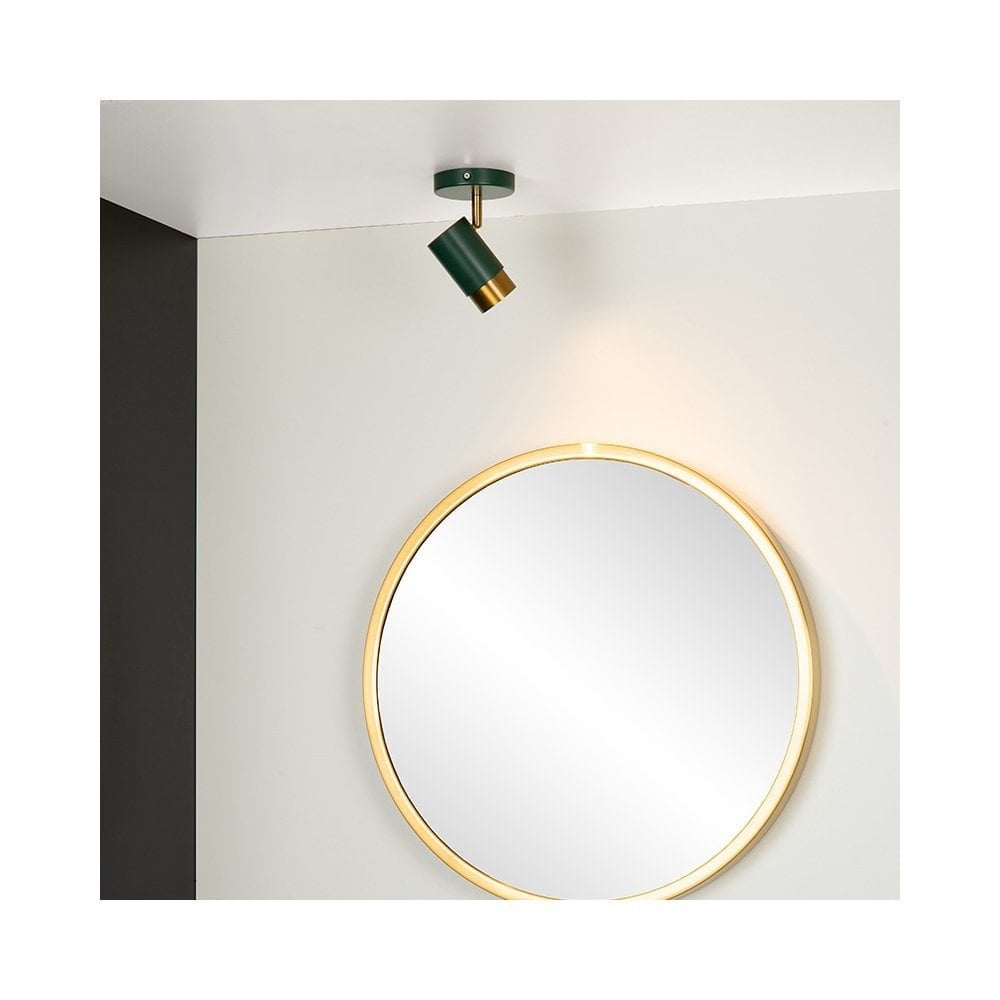
Throughout history, green has also been the colour choice for luxurious bathrooms. The dark green paired with white marble evokes a sense of grandeur and wealth. Favoured during the Jazz Age and Art Deco era, green was paired with black and glass for a sumptuous aesthetic. Opt for a retro light fitting for a moody bathroom to recreate this look.
Green in studies
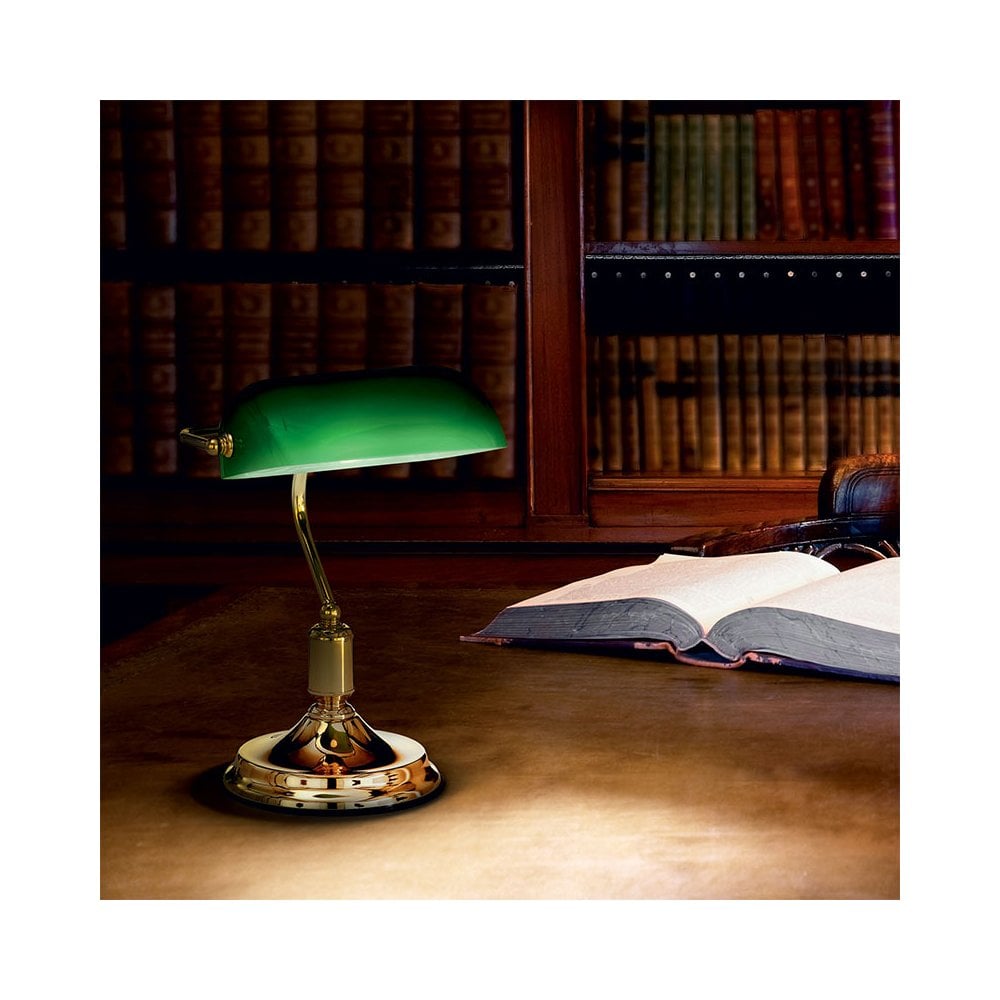
As mentioned earlier, dark greens can help create a sophisticated and refined aesthetic, perfect if you want to create a masculine feel in your study. Pair a green banker’s lamp with dark wood furniture to convey power and wealth.
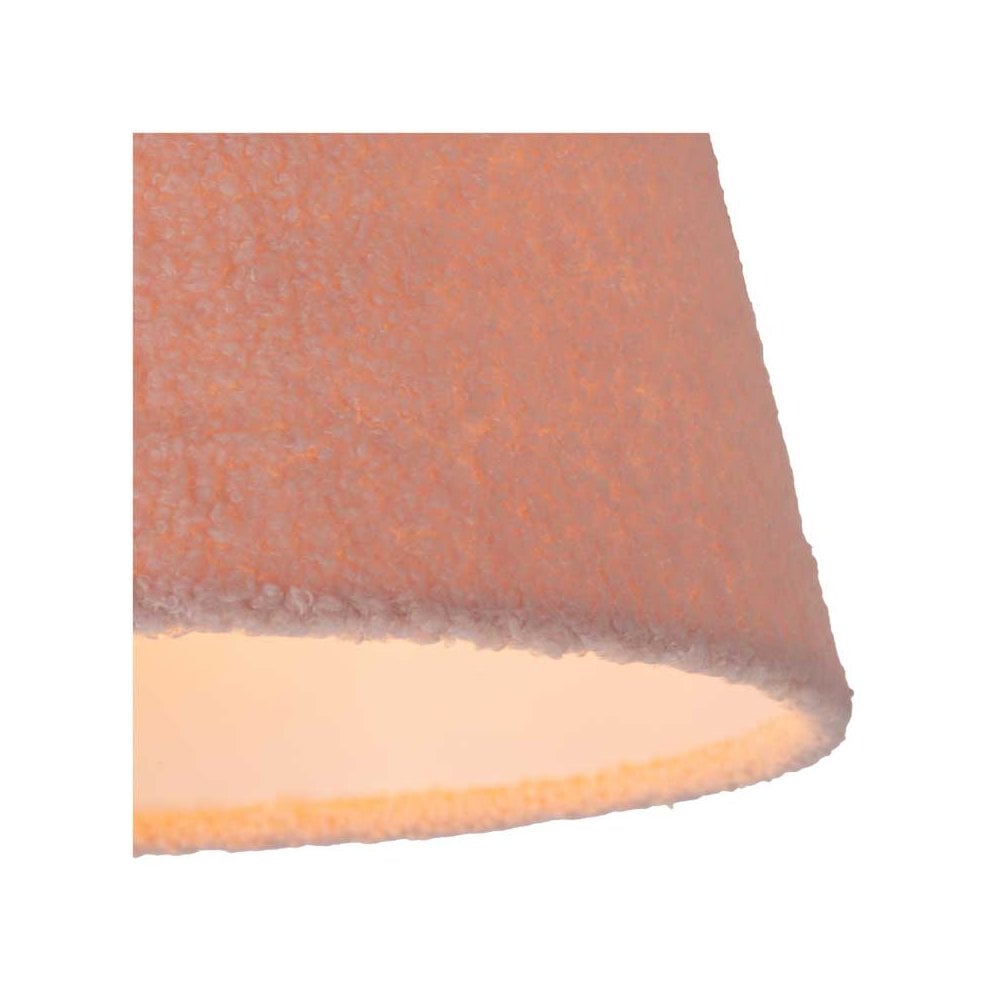
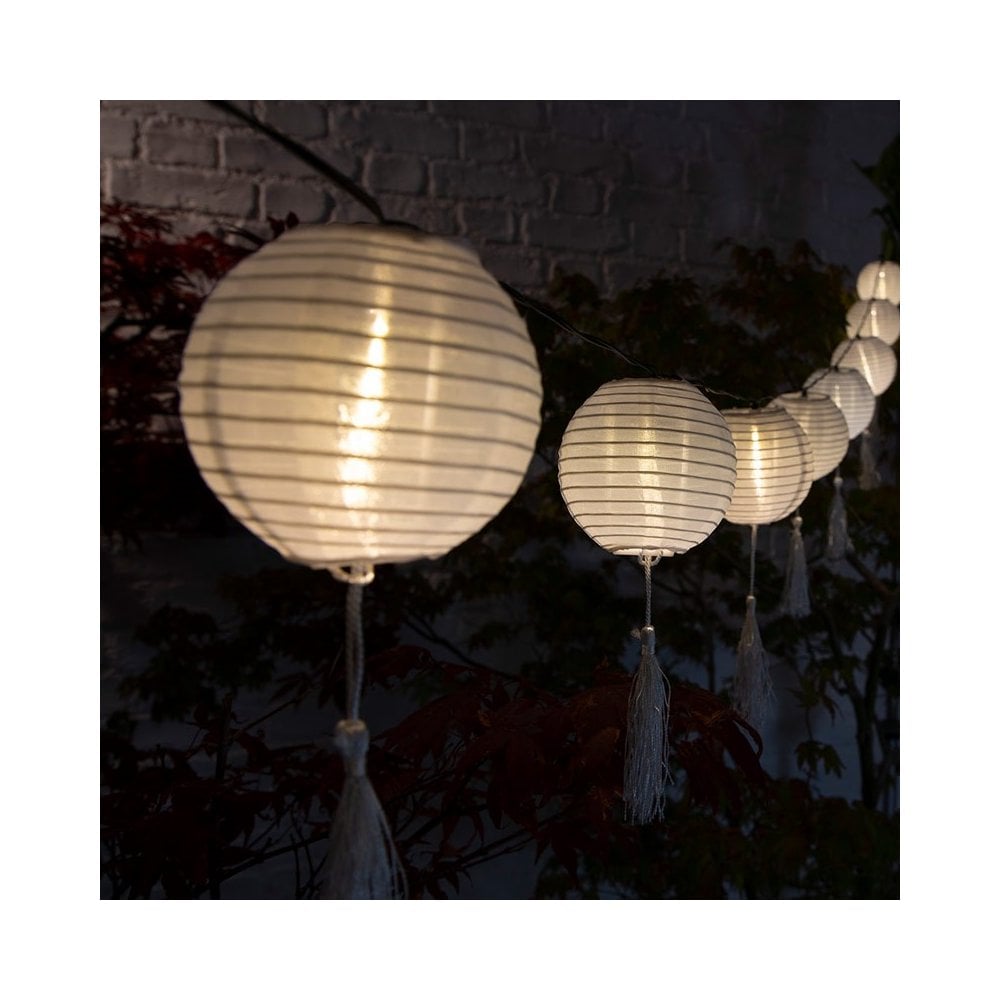
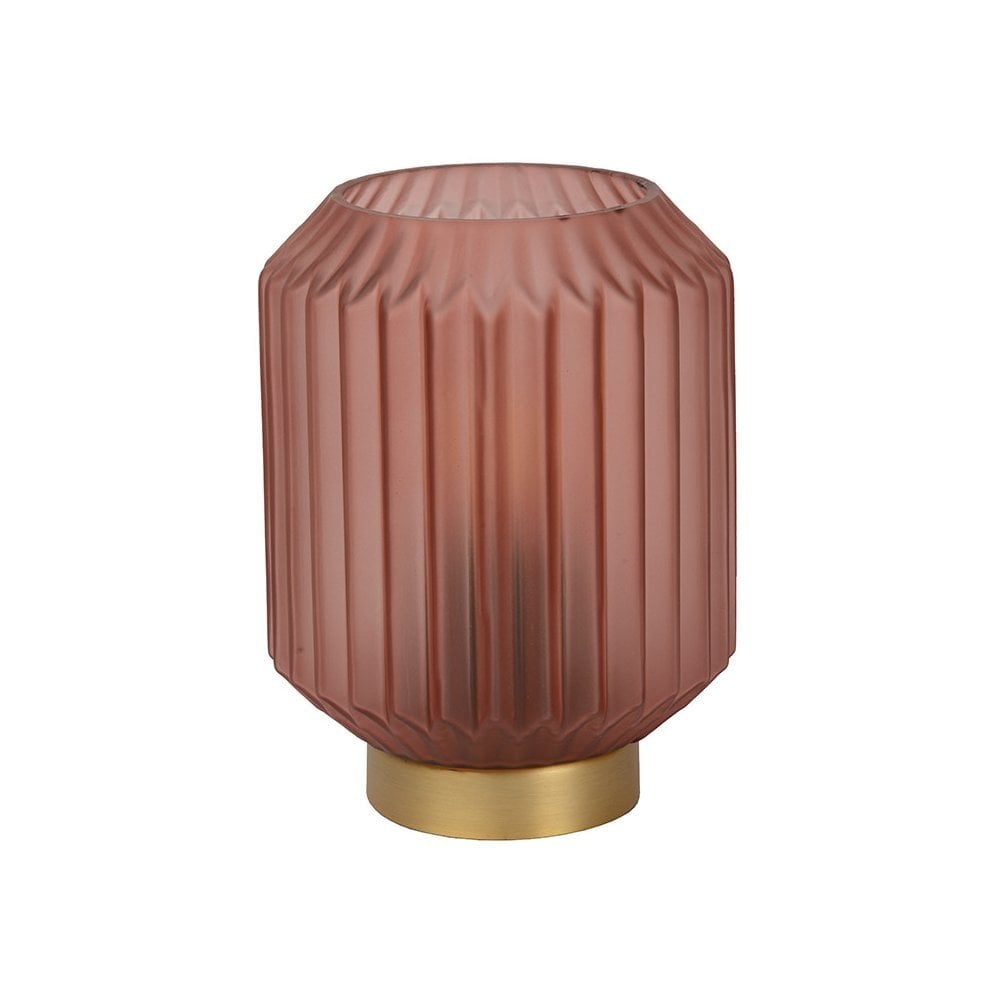
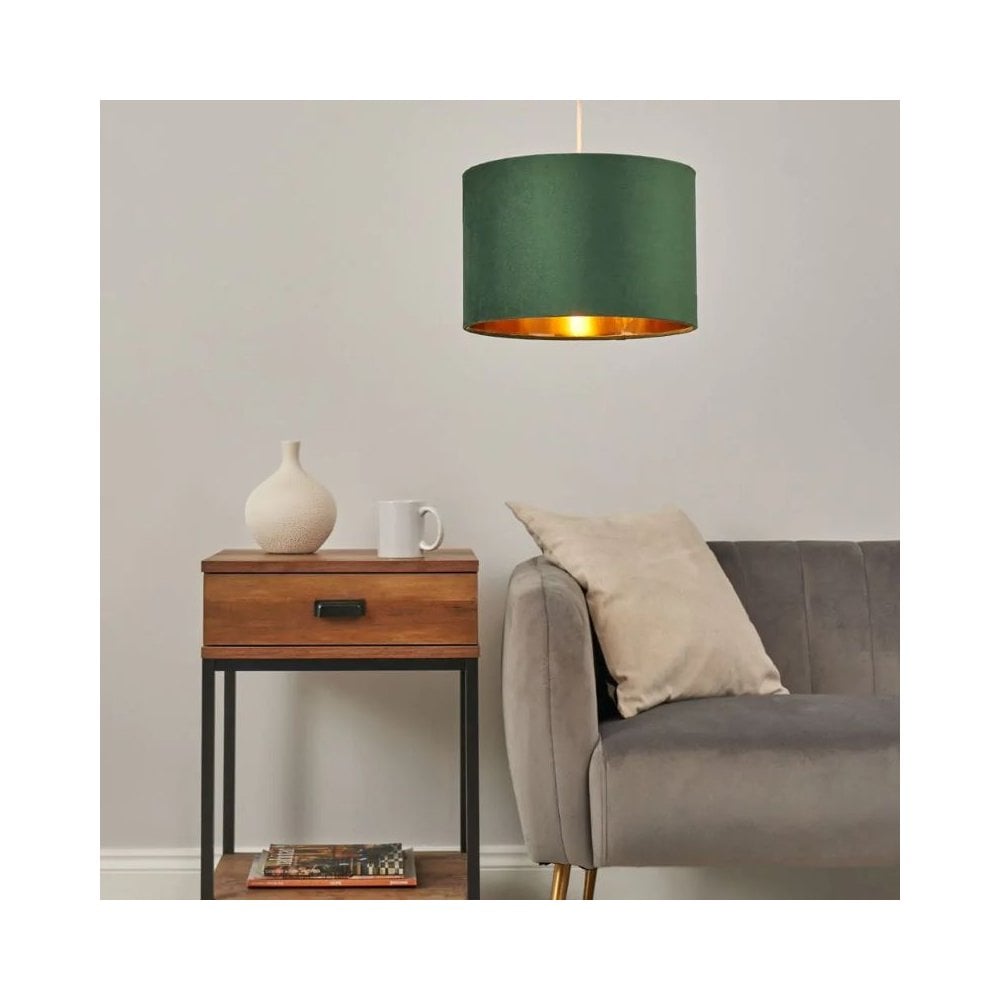
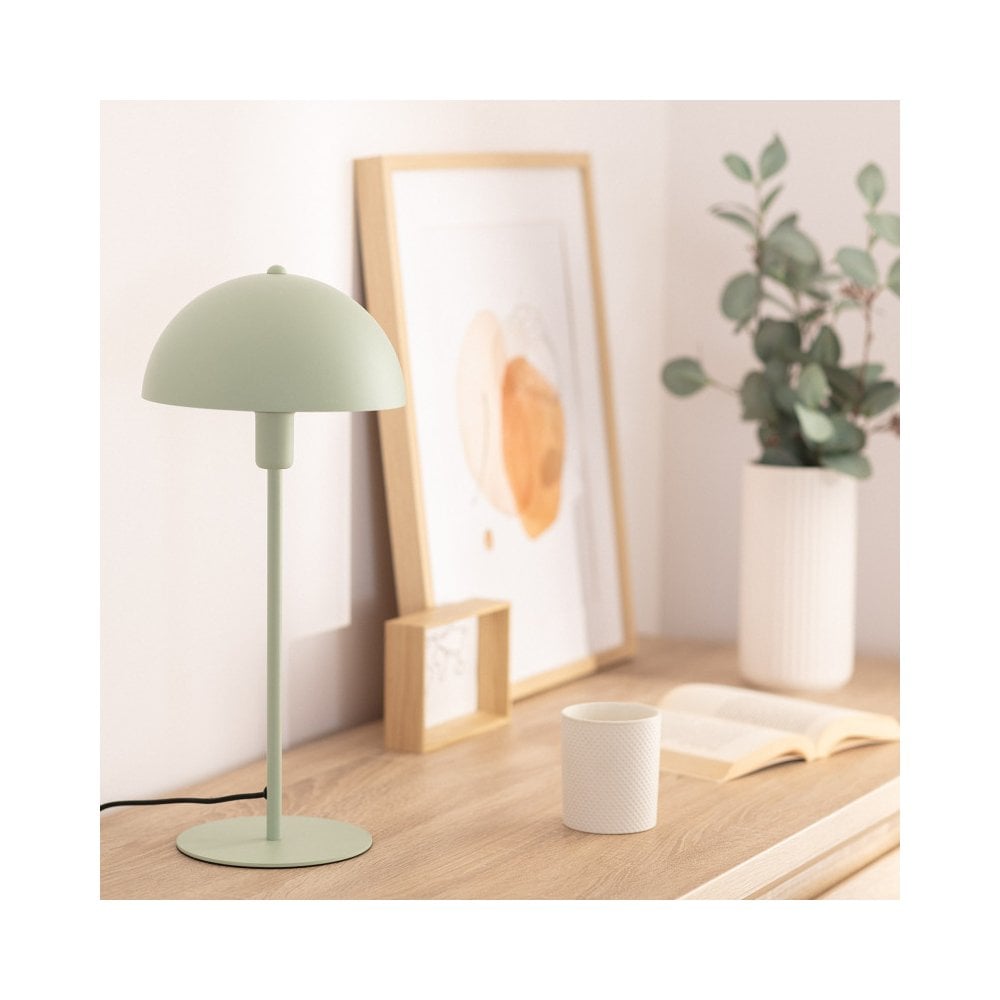
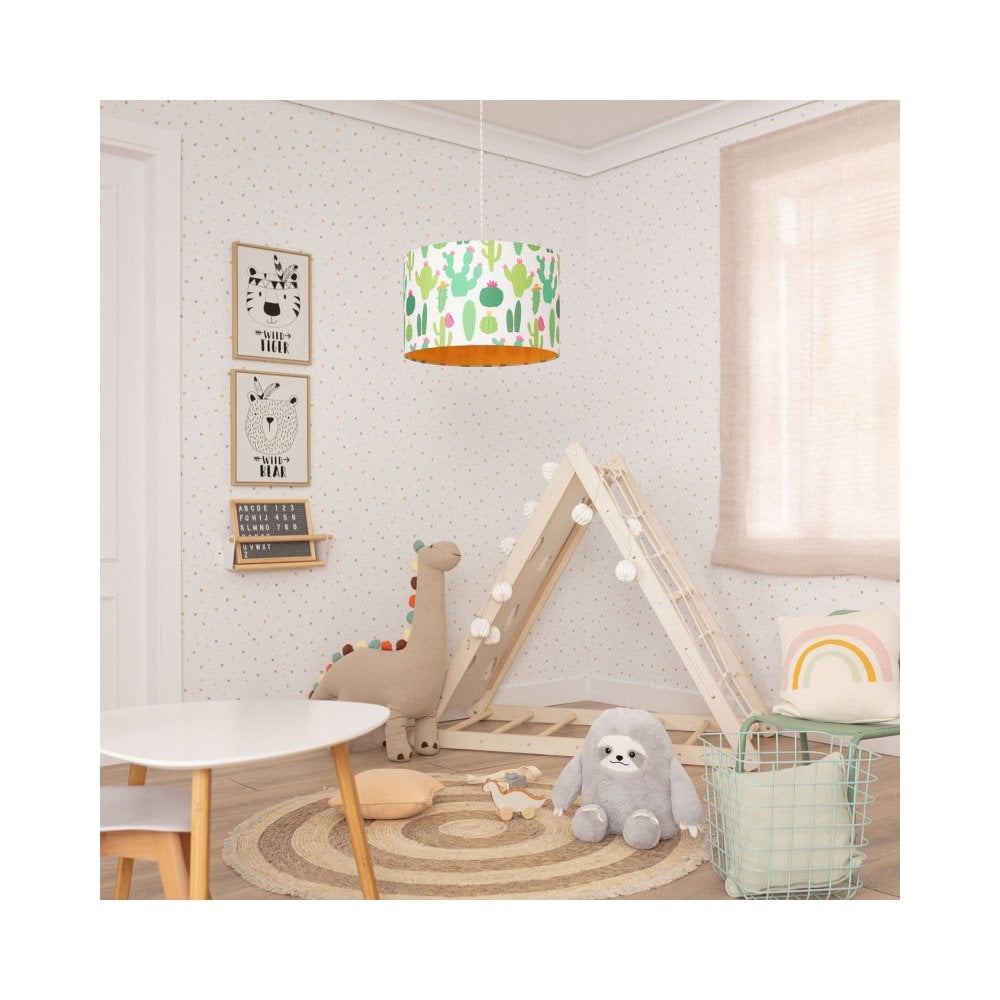
Green lampshades
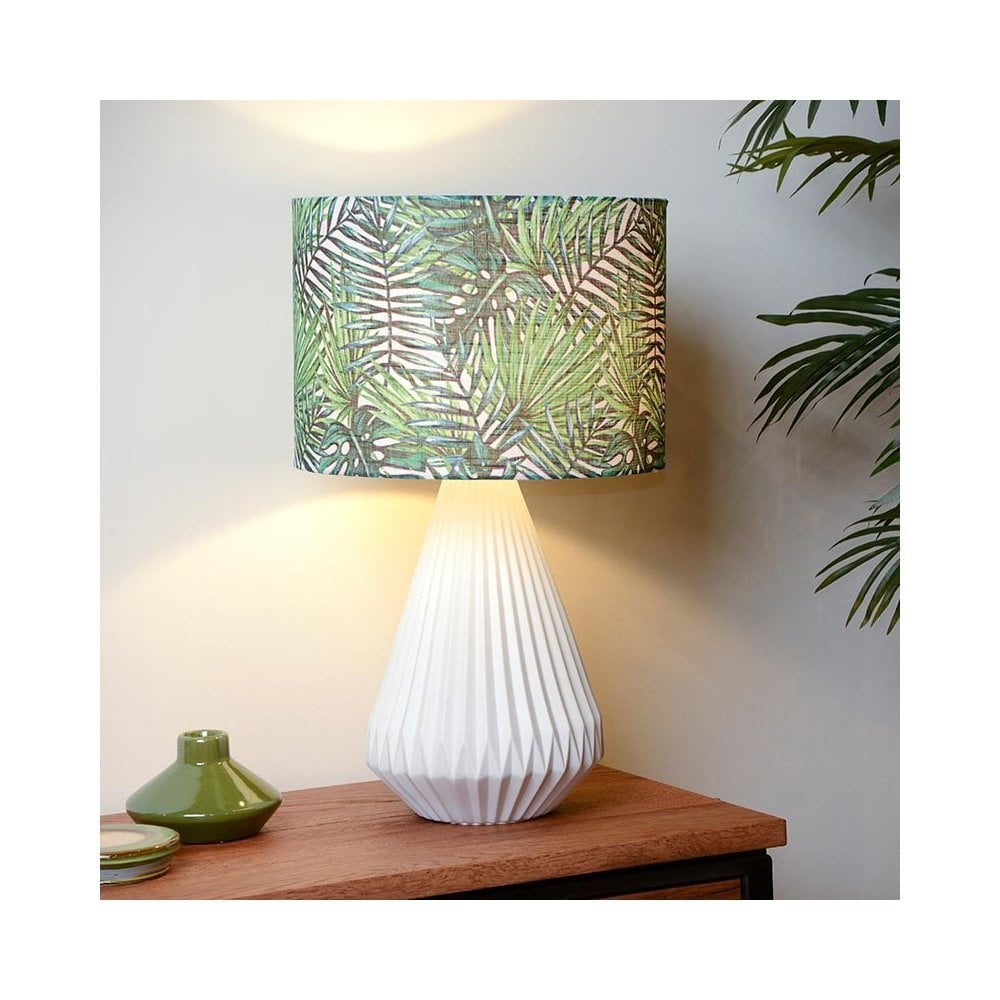
Swapping out an old lampshade for a green one is a great way to bring colour to your interior. From fabric to glass, there are 100s of styles, patterns, sizes and materials of green lampshades to get just the right green for your interior vision.
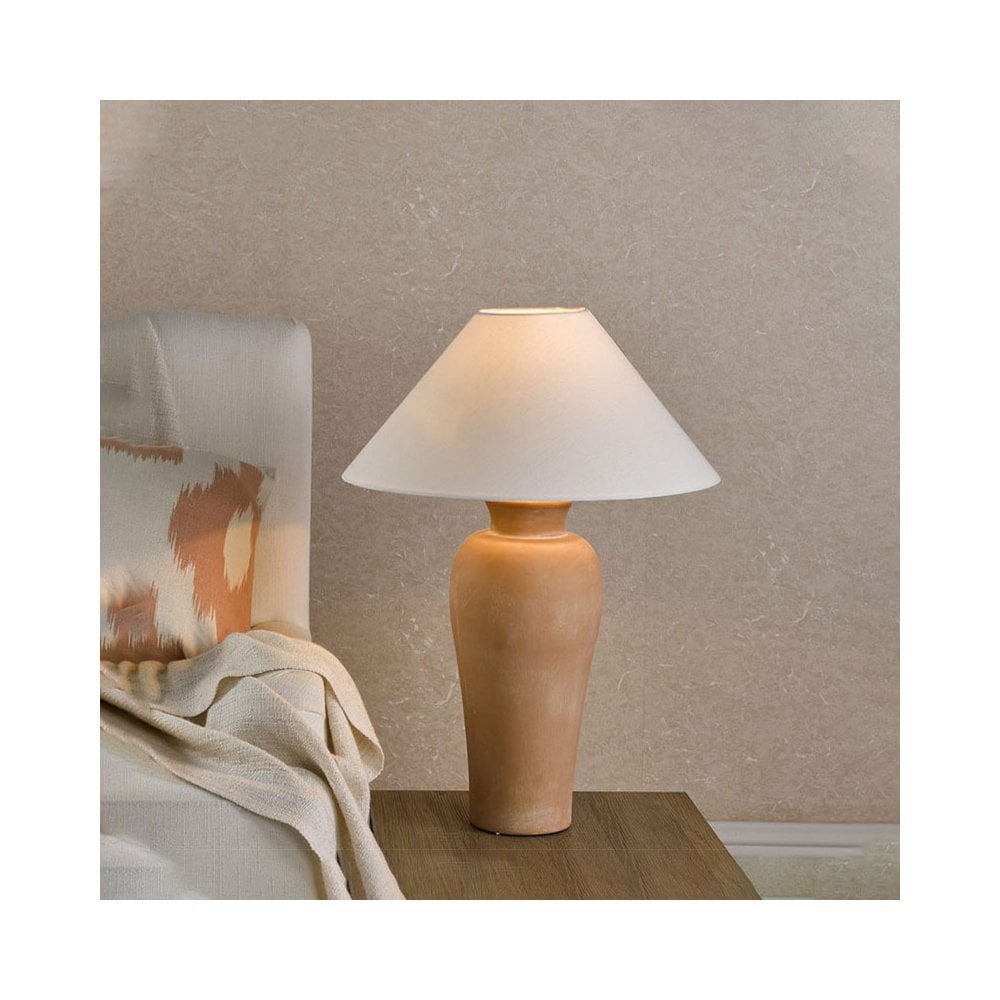
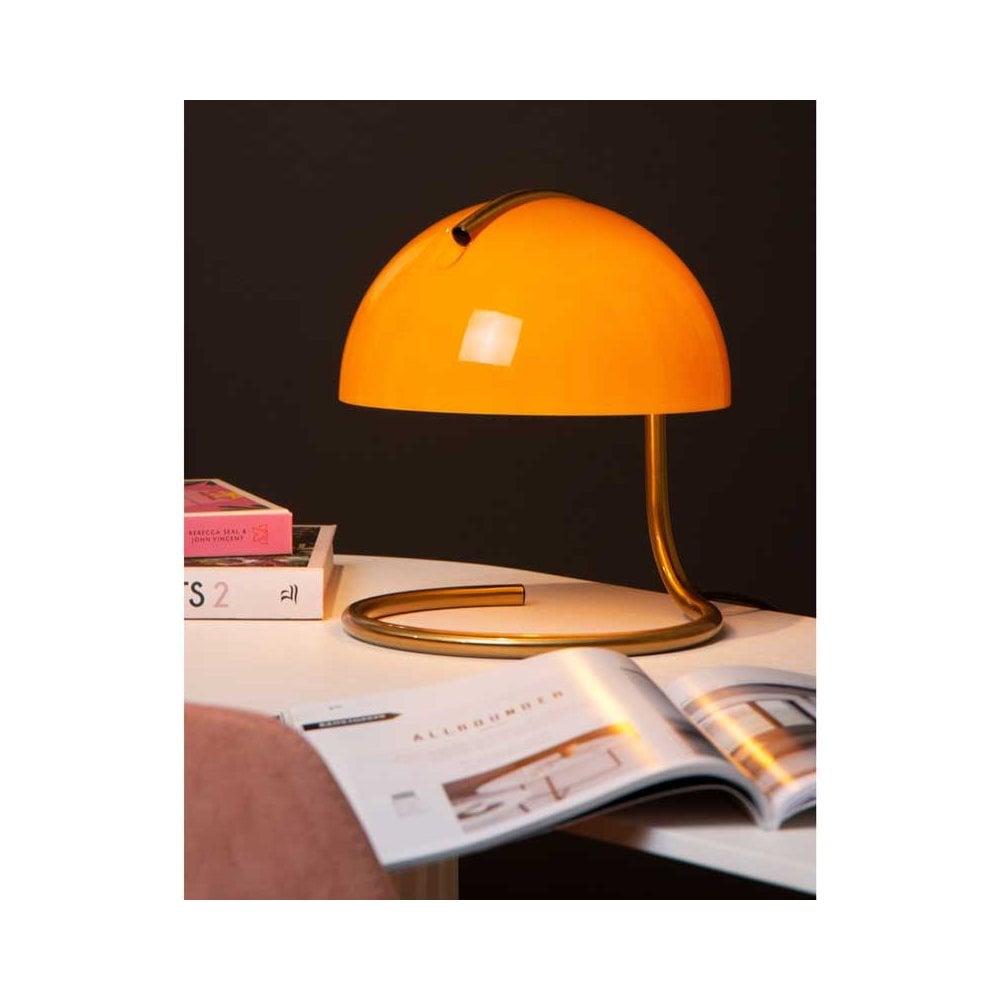
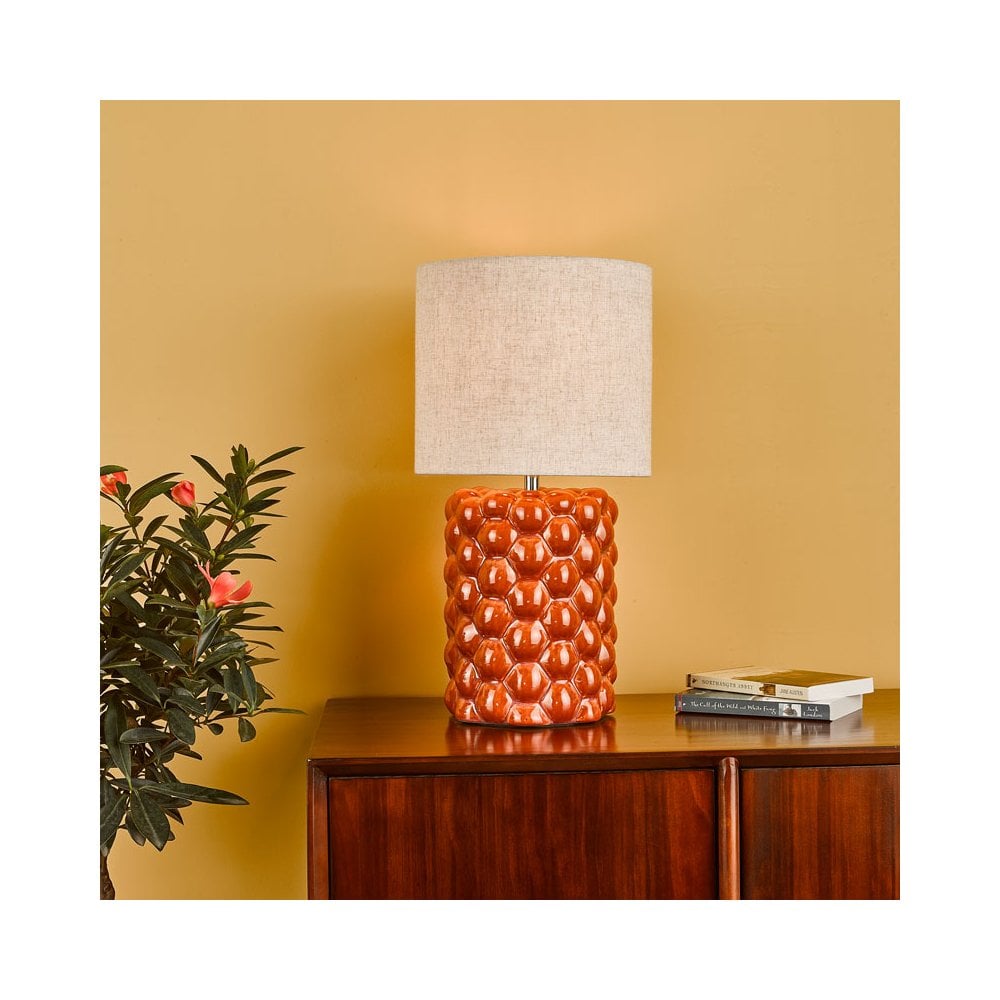
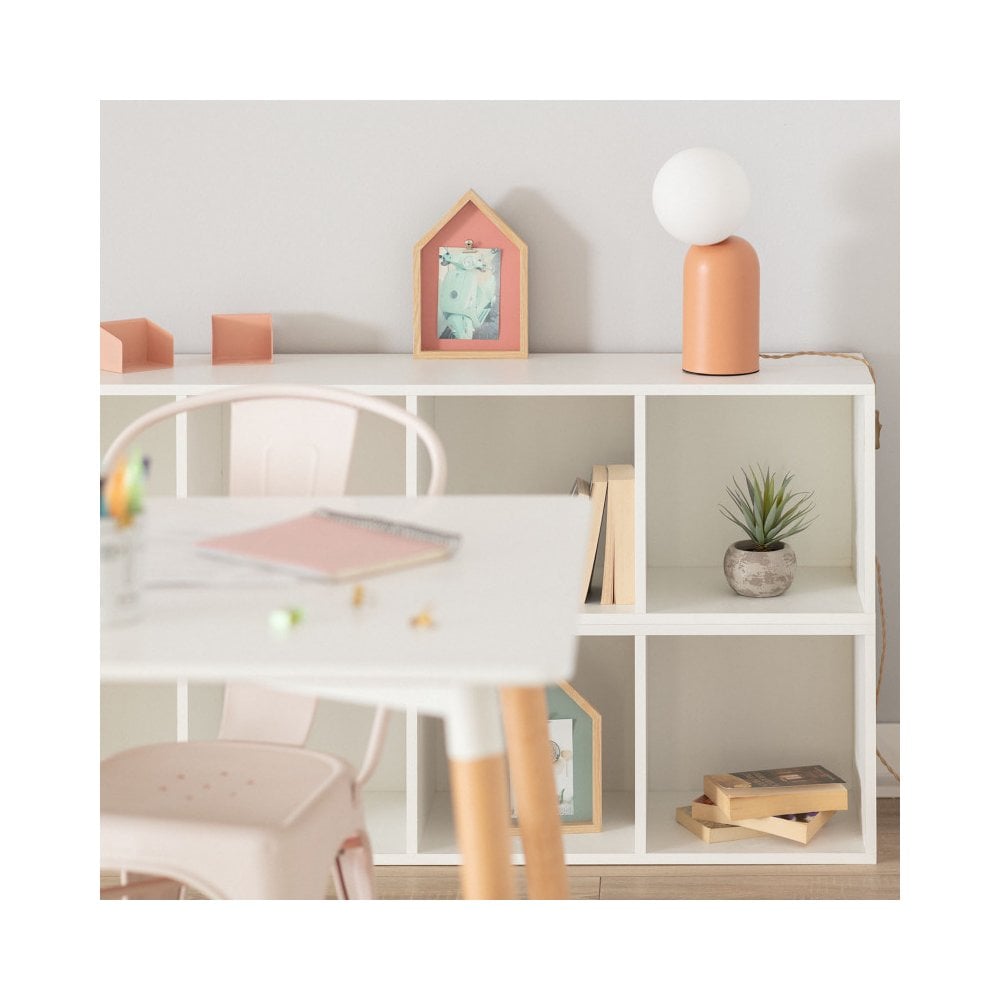
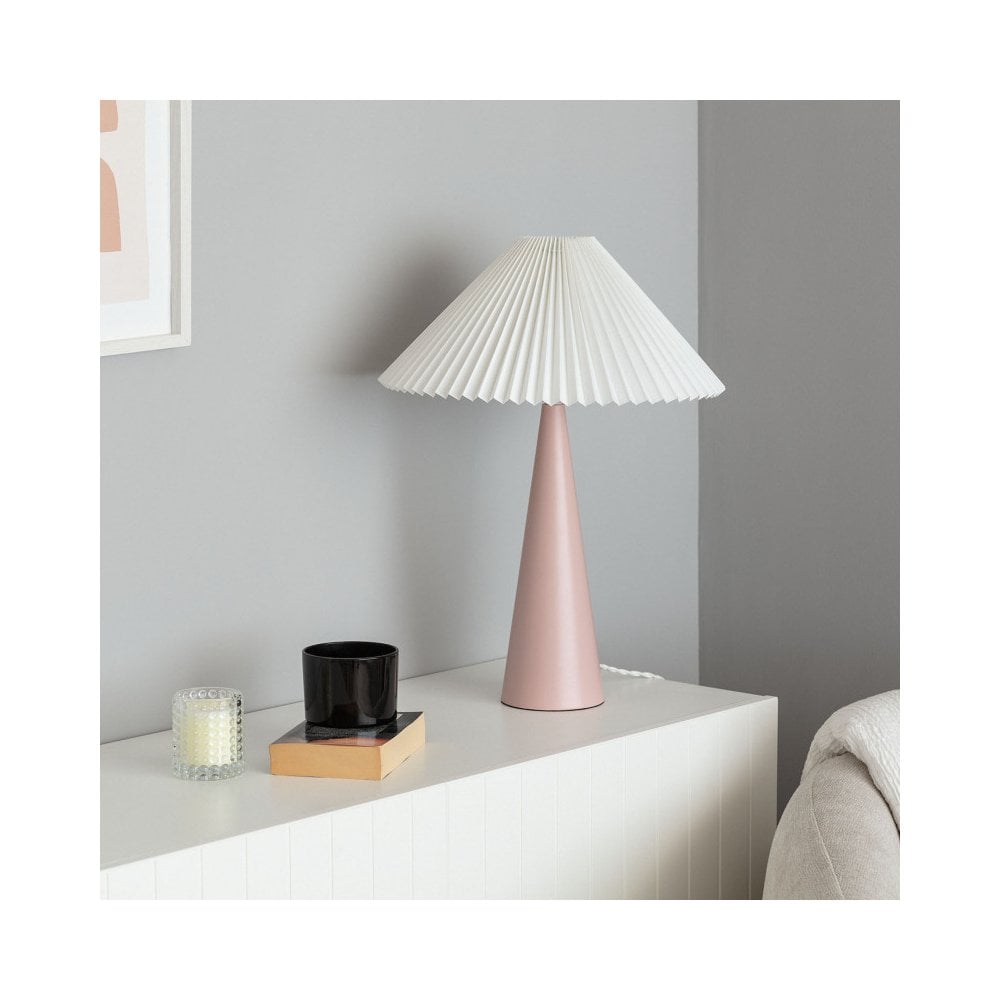
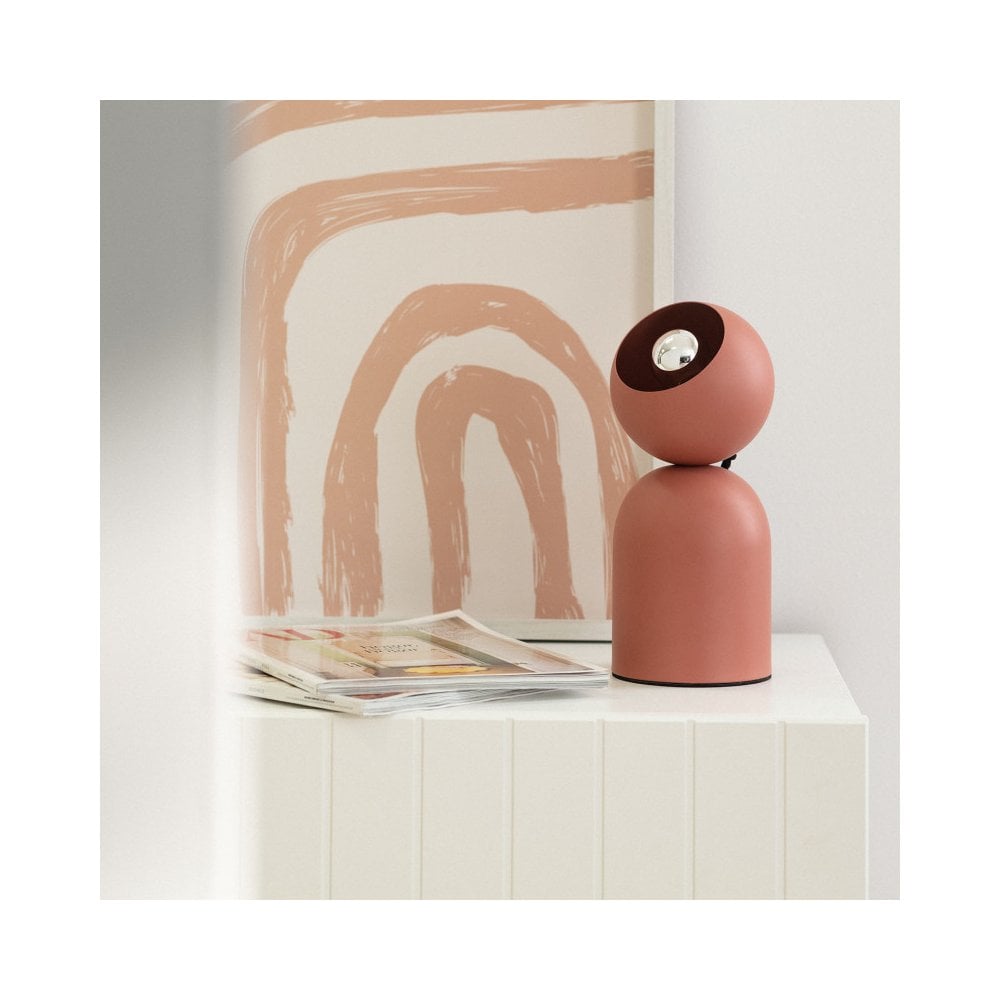
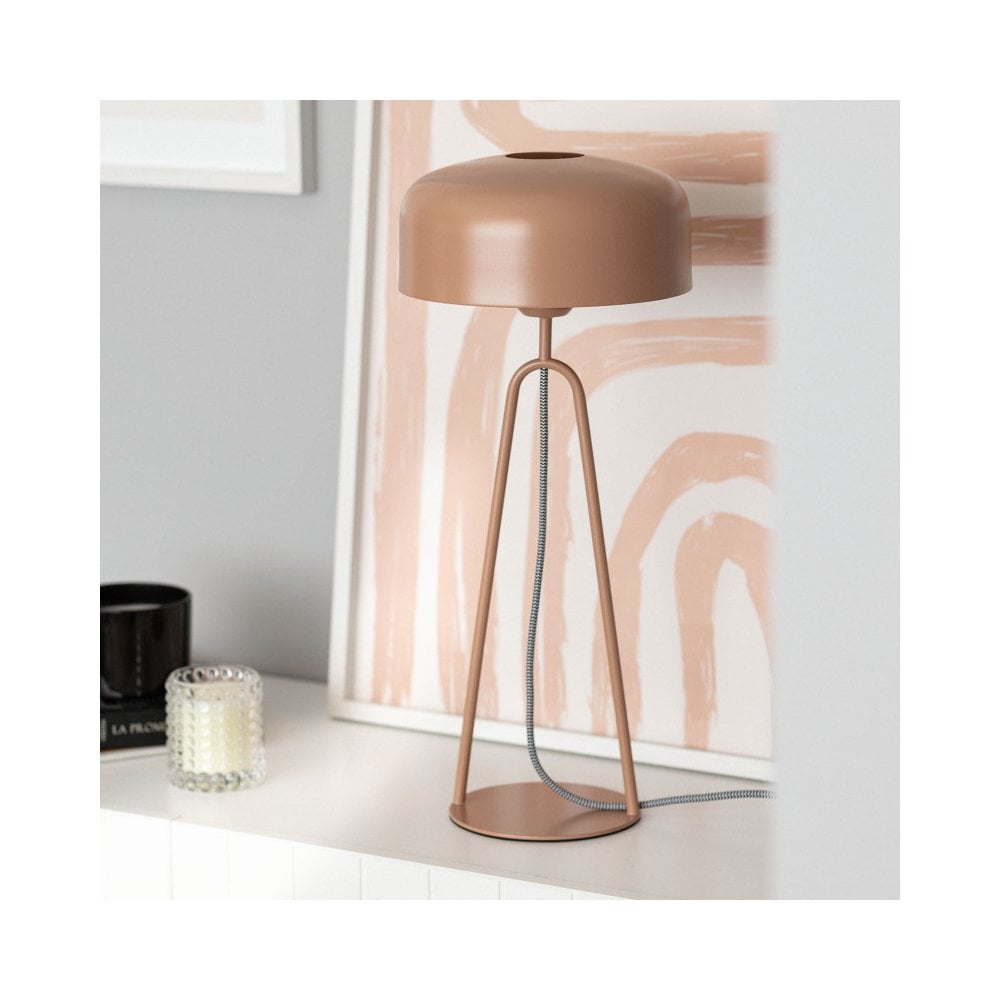
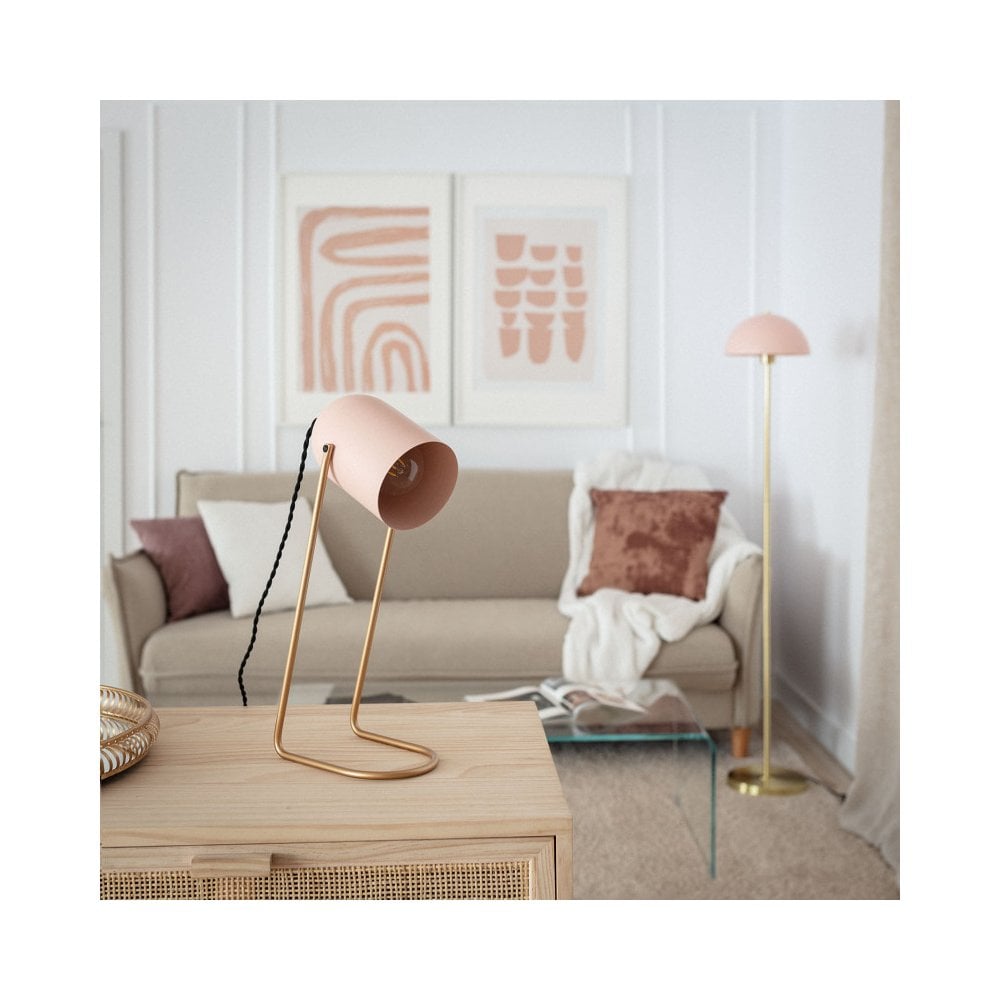
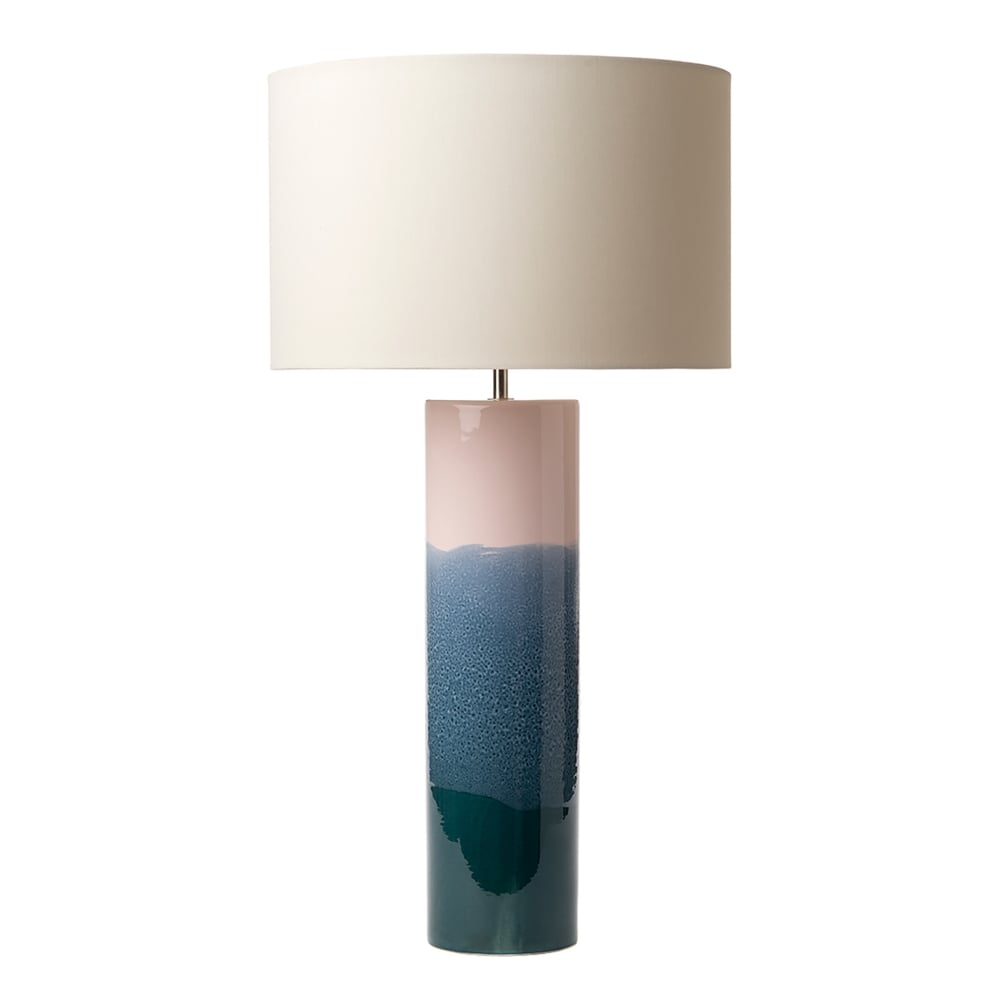
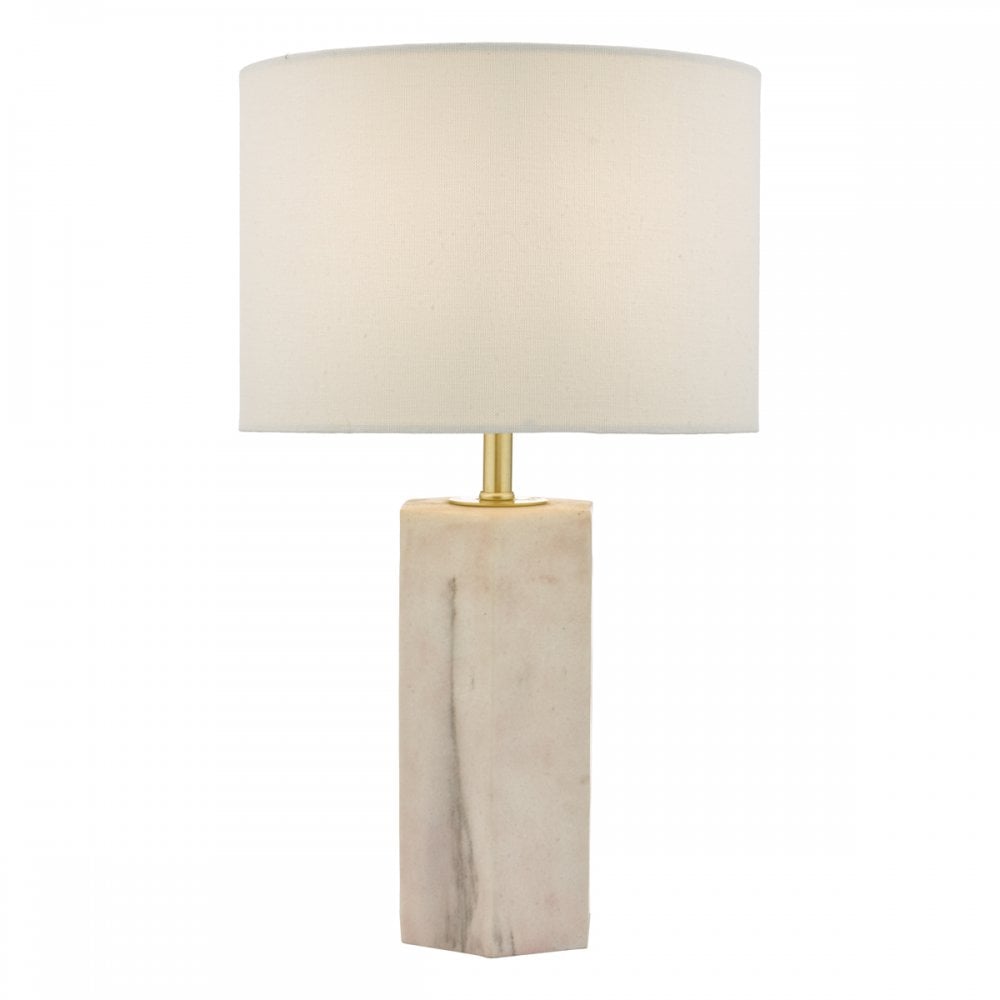
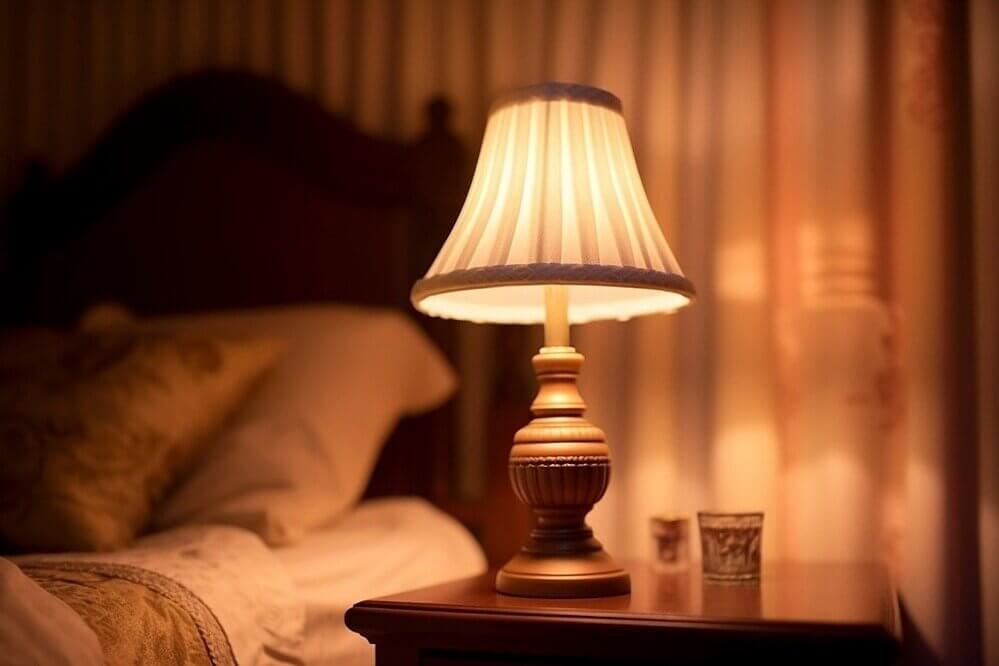
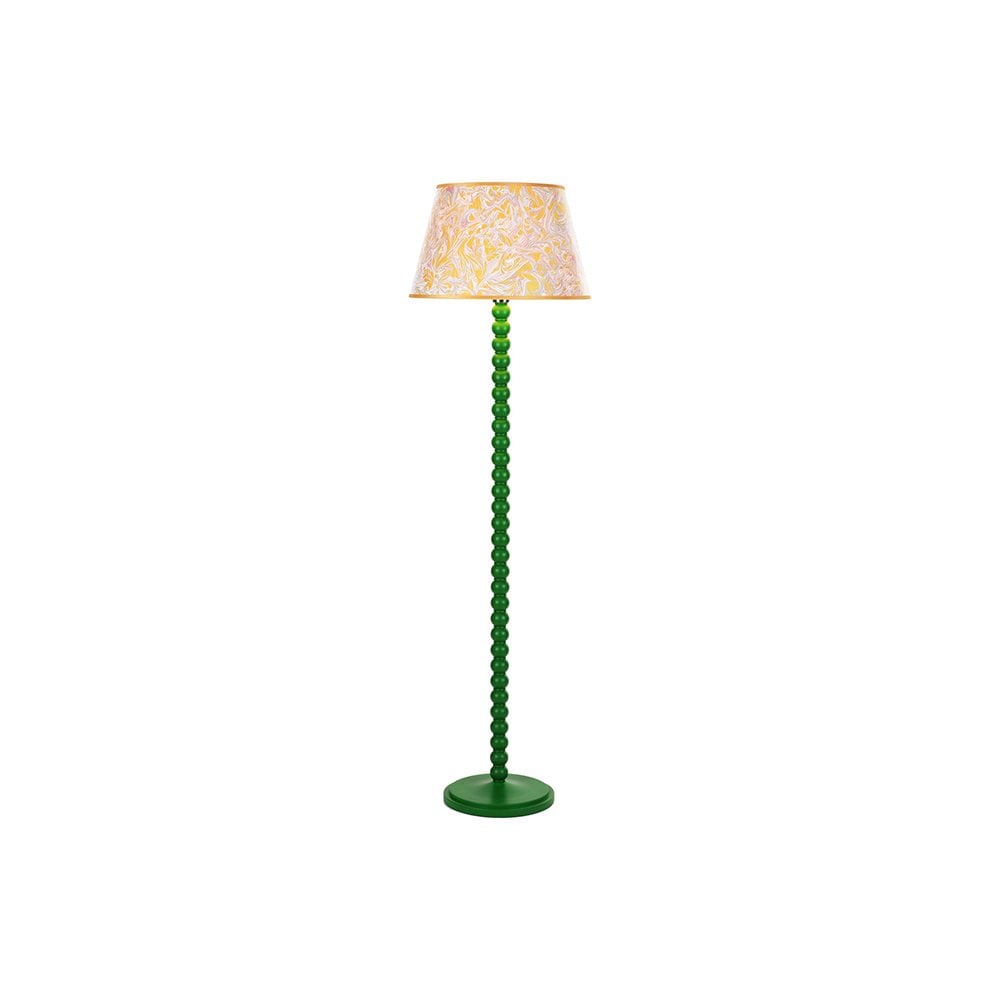
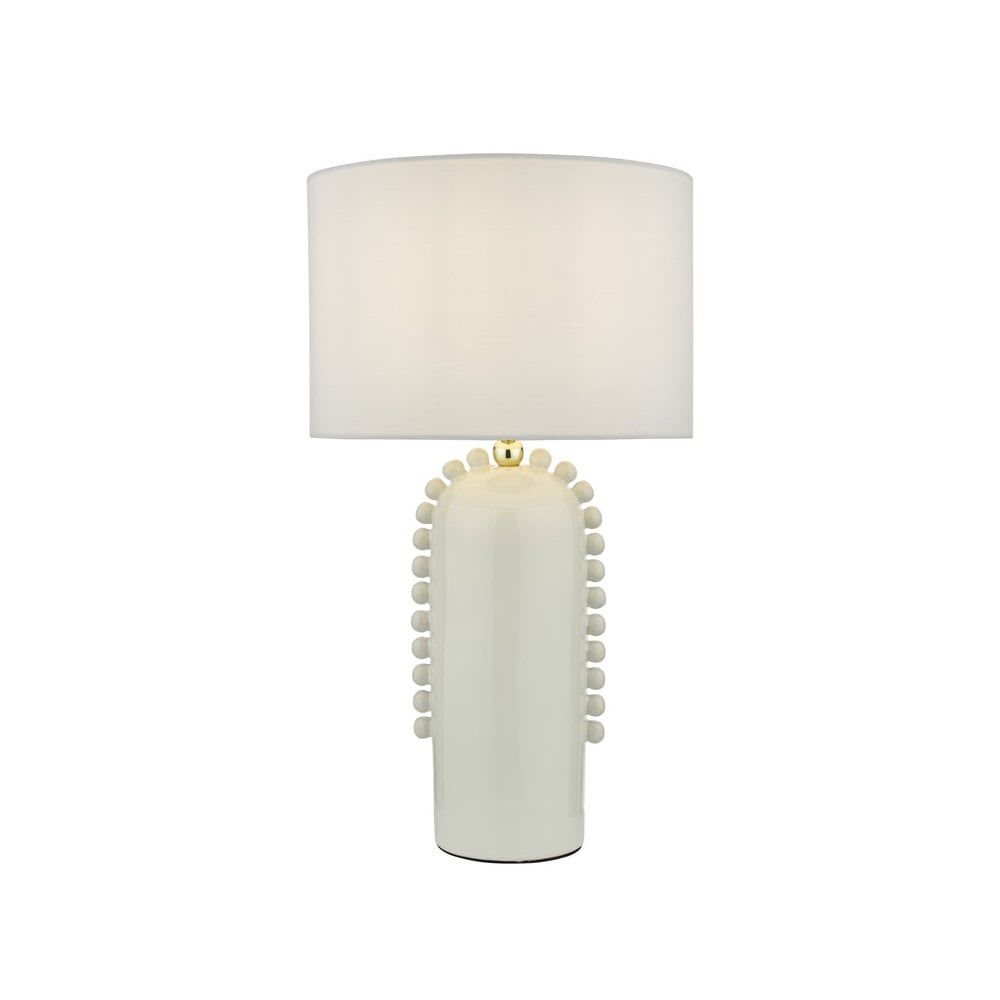
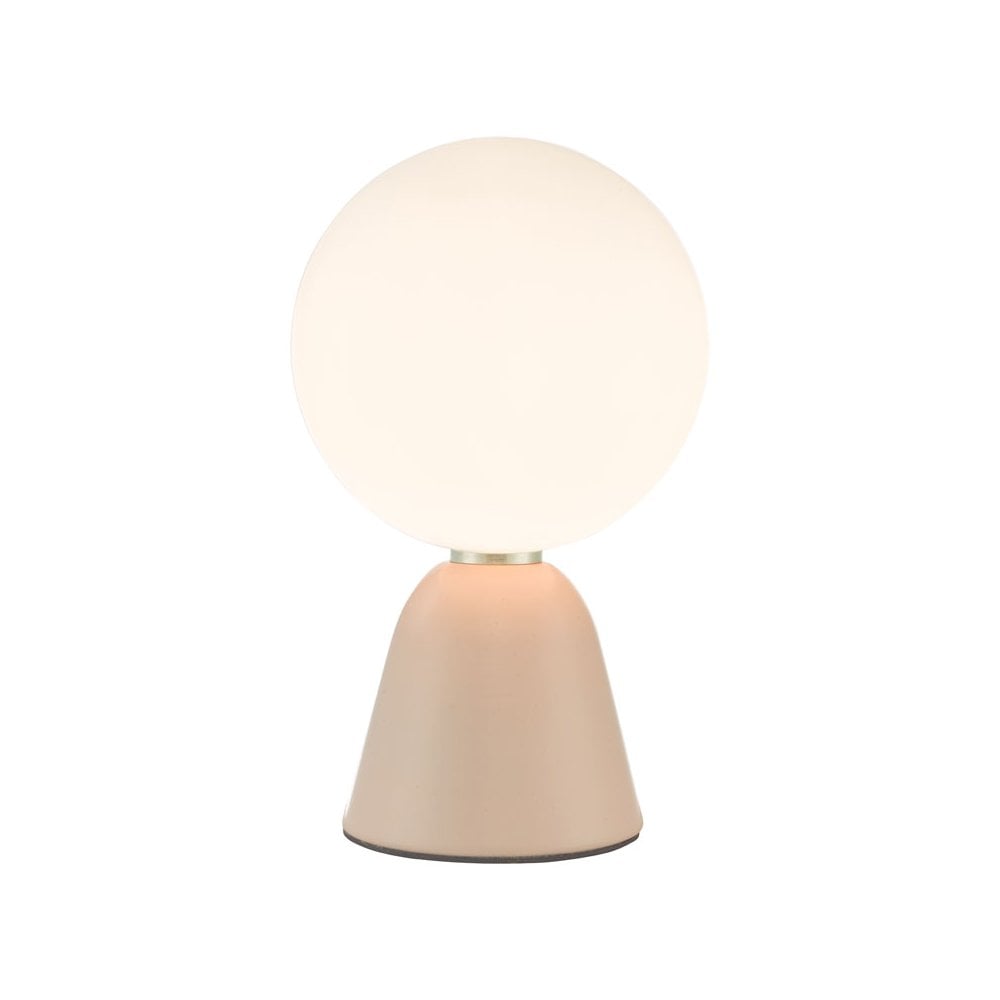
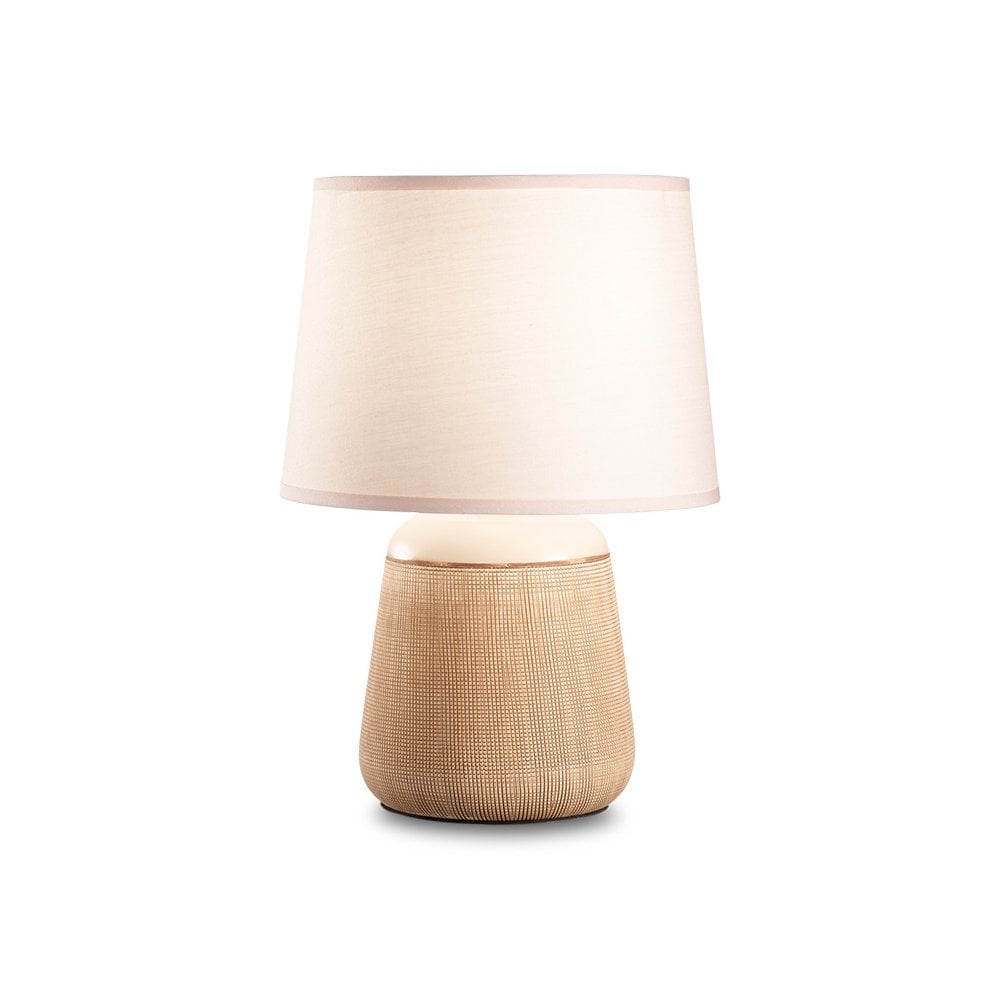
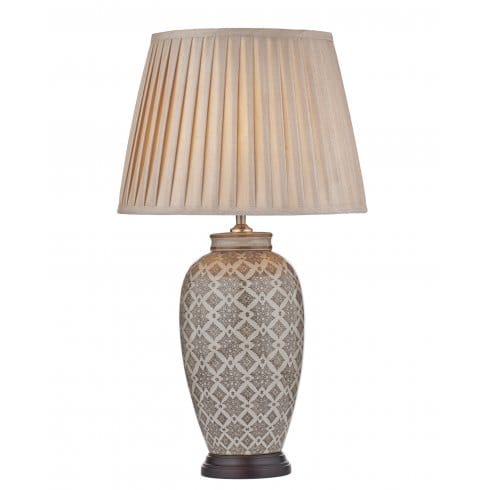
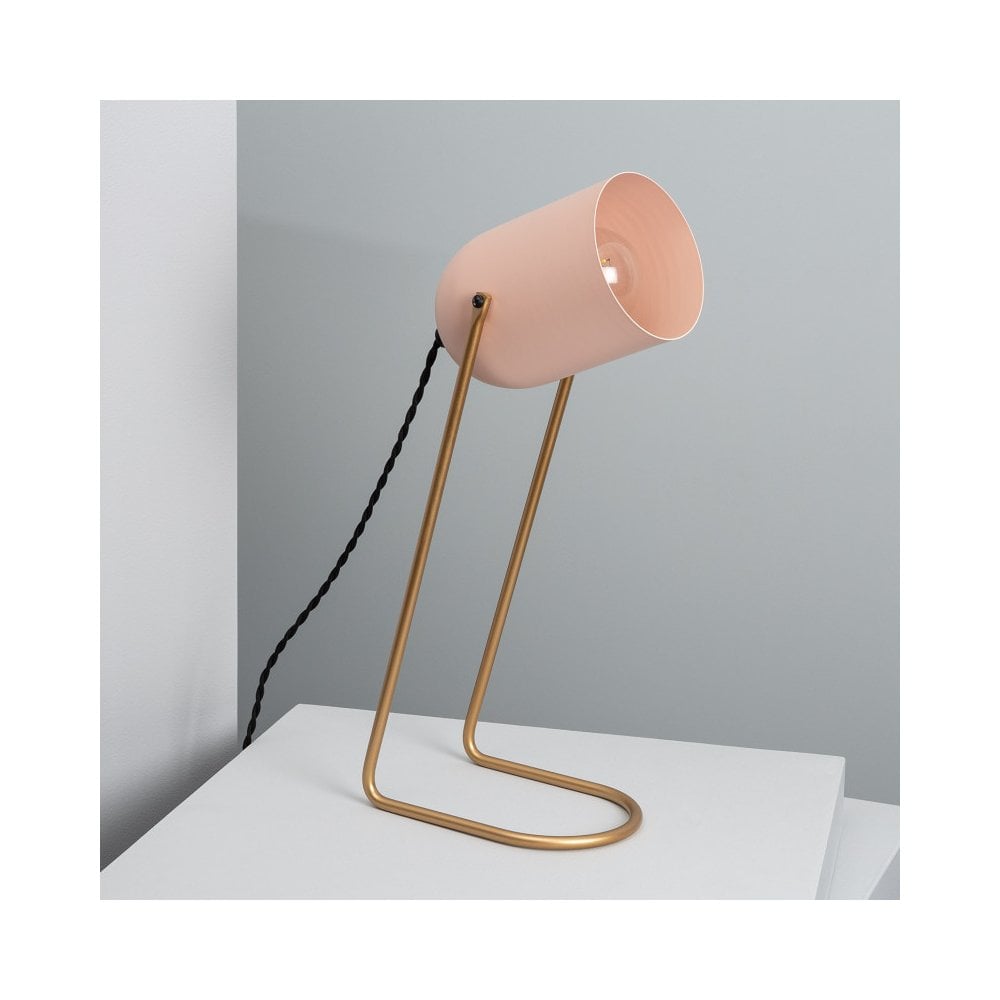
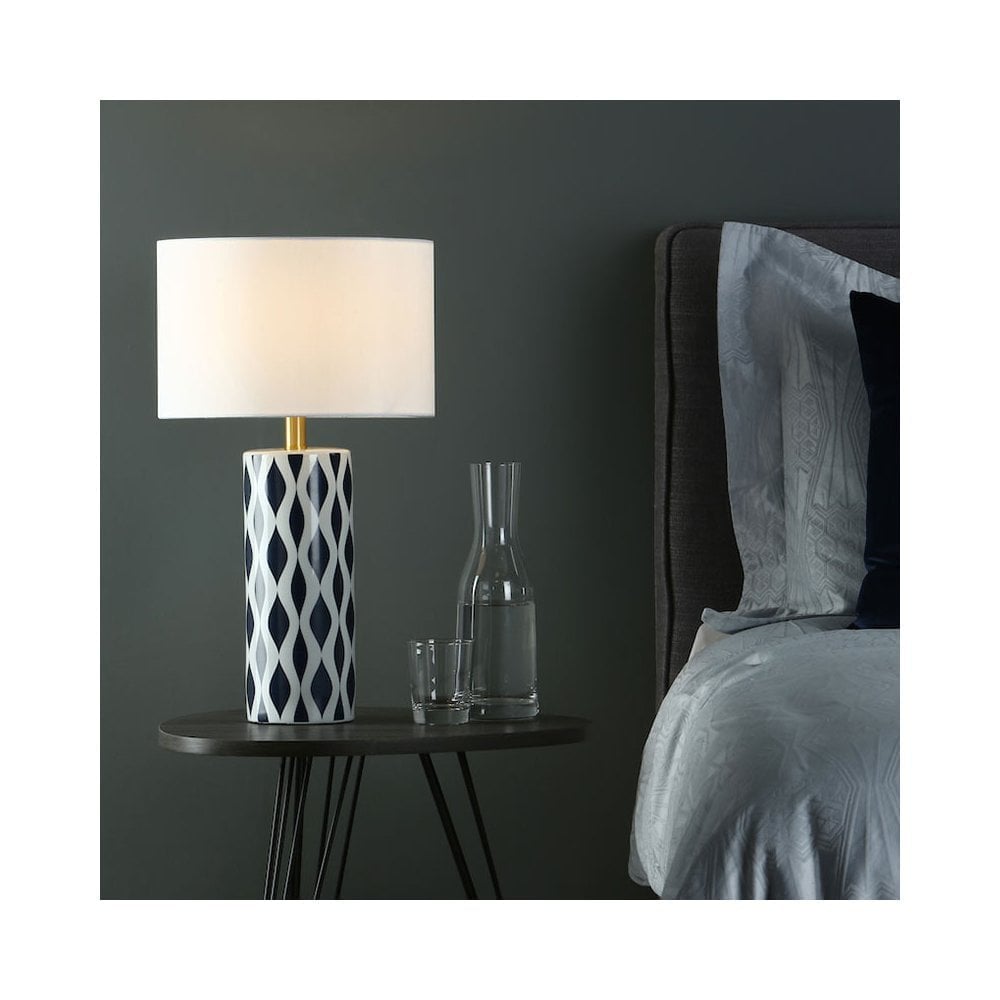
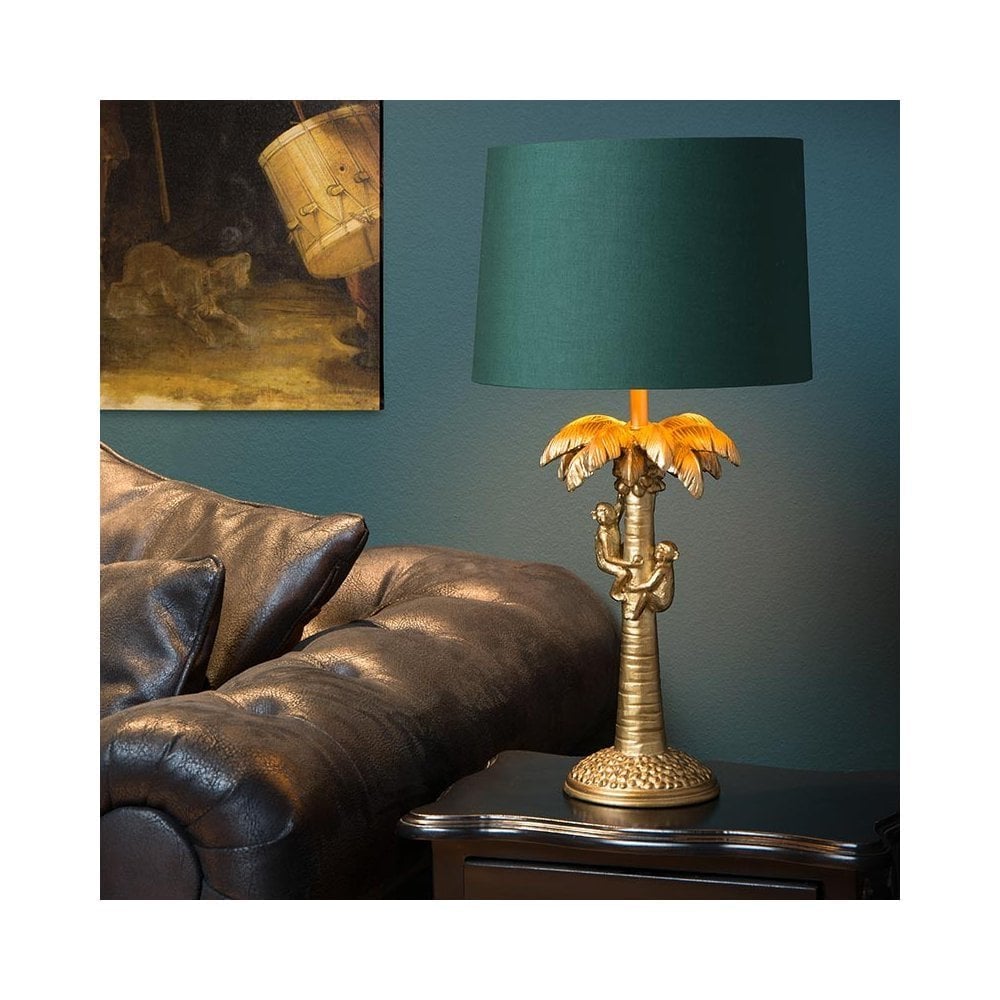
Green table lamps
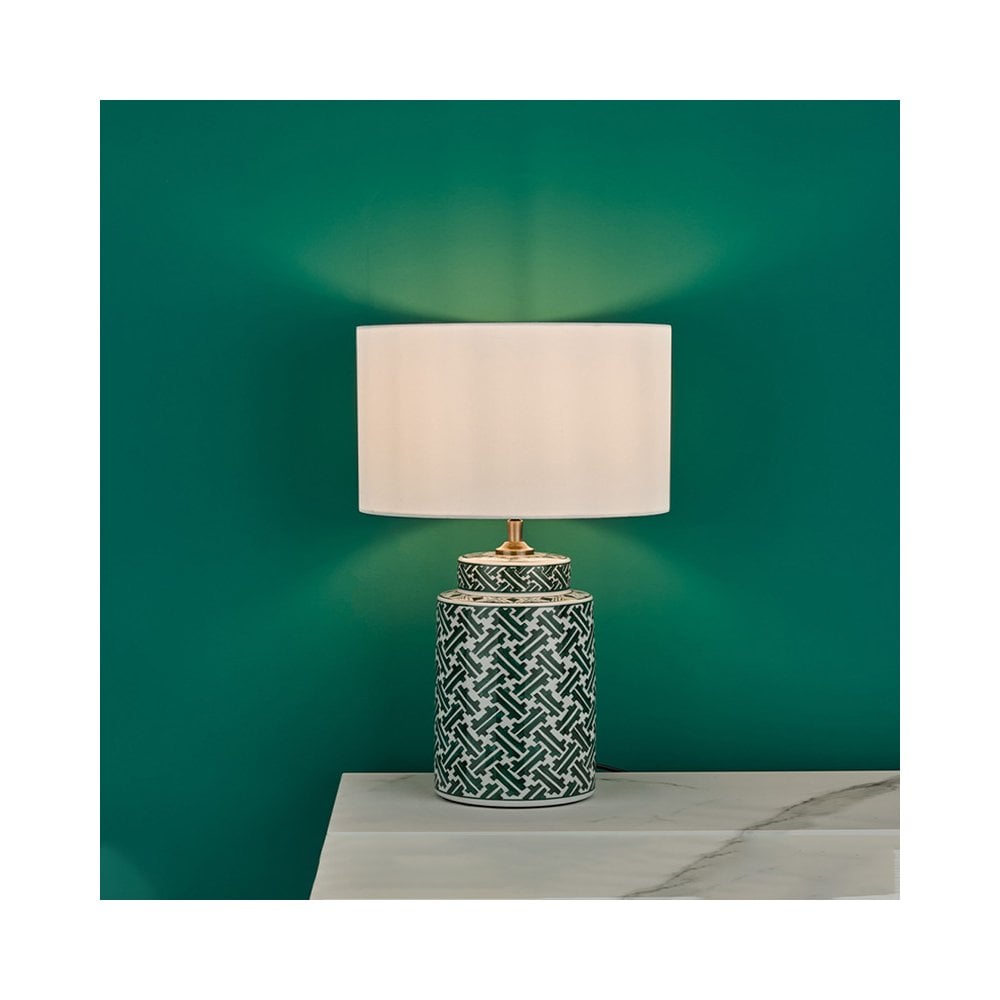
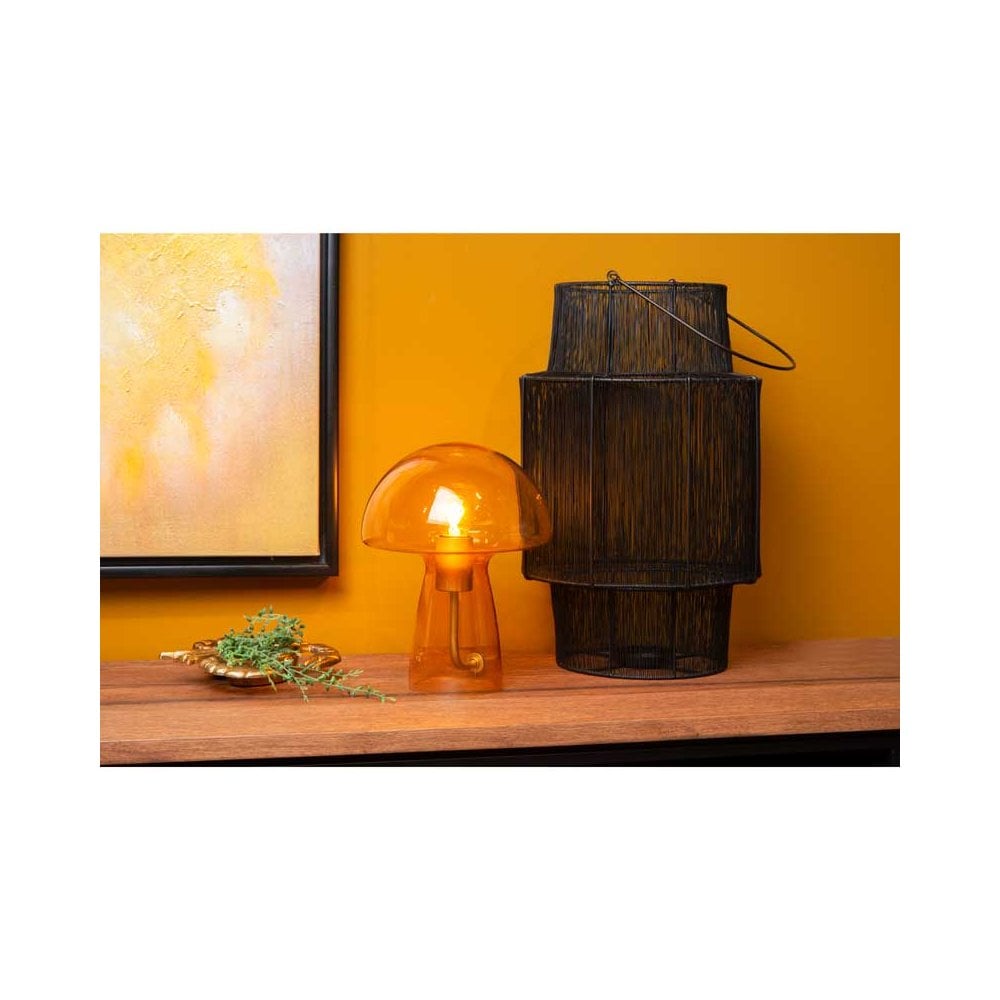
Opt for a green ceramic-based table lamp for your interior design. A practical and stylish way to add classic-styled pottery to your home that also illuminates the room. Opt for a celadon green ceramic vase lamp. It will work in most settings and provide that timeless look steeped in history.
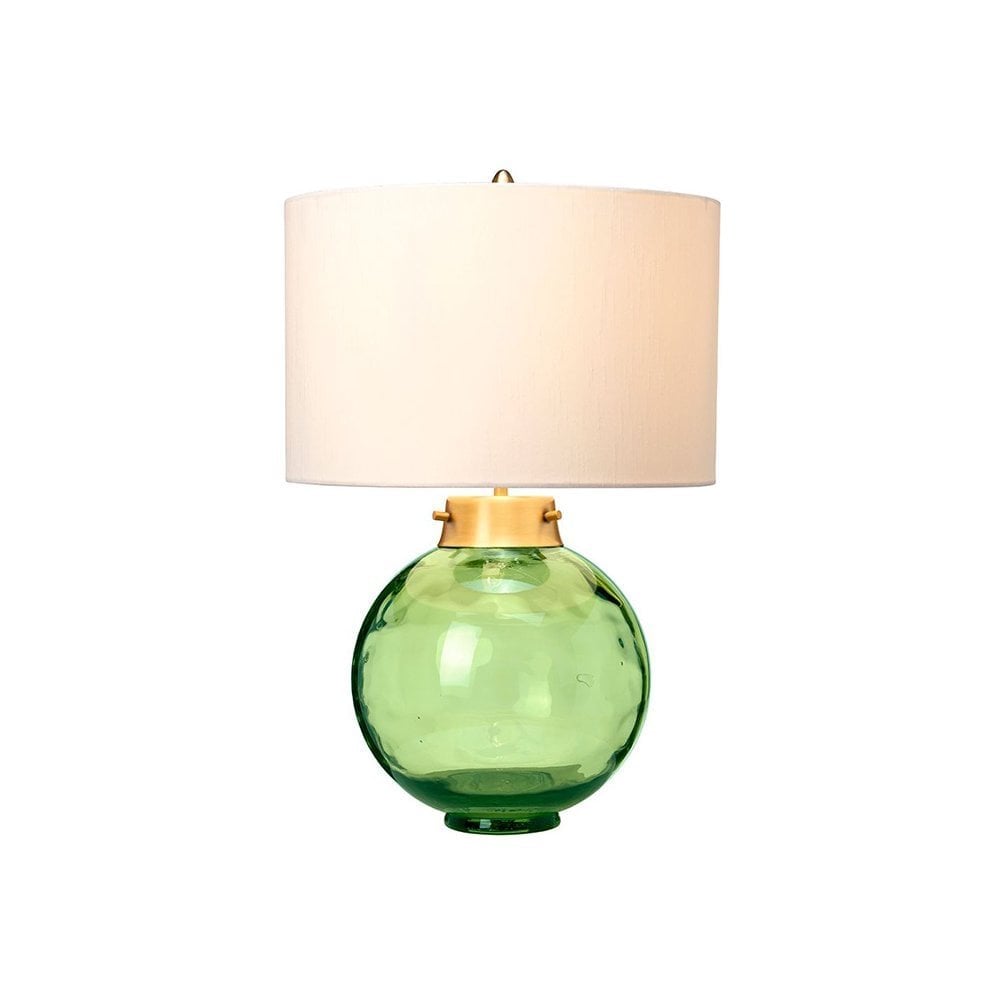
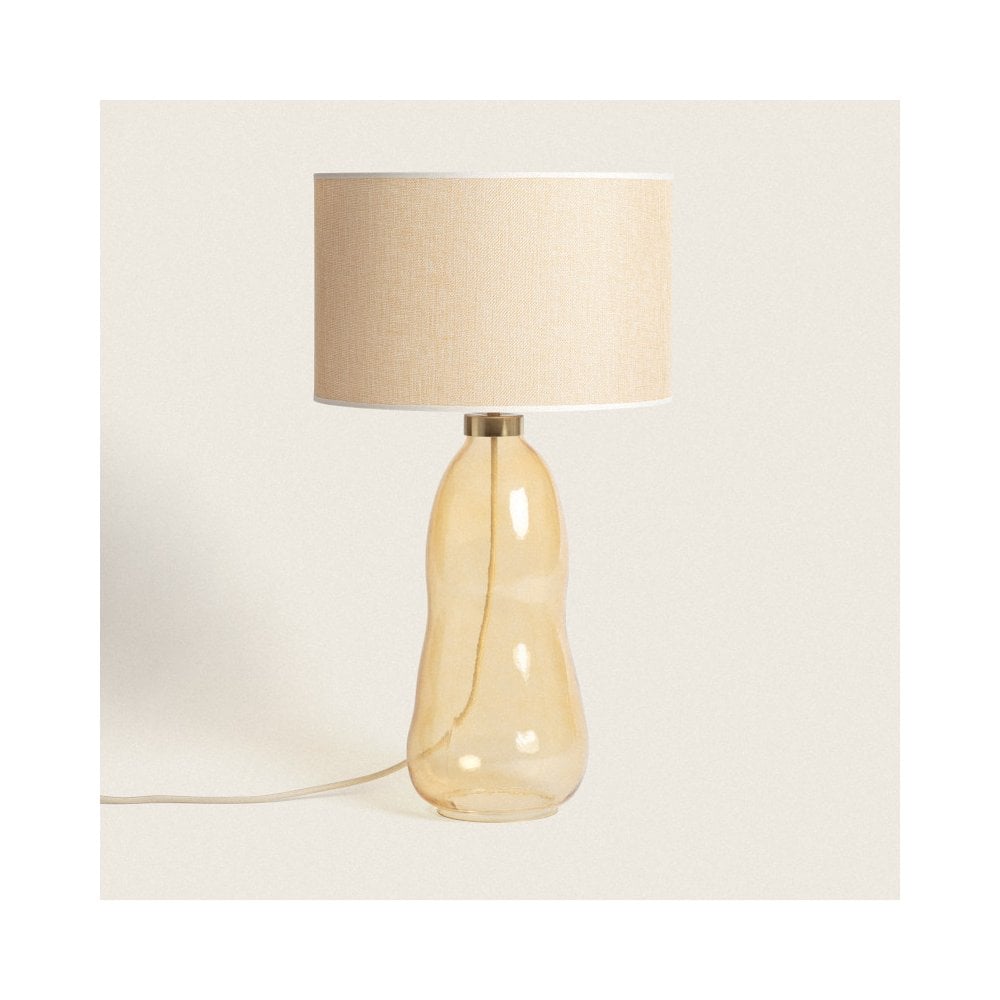
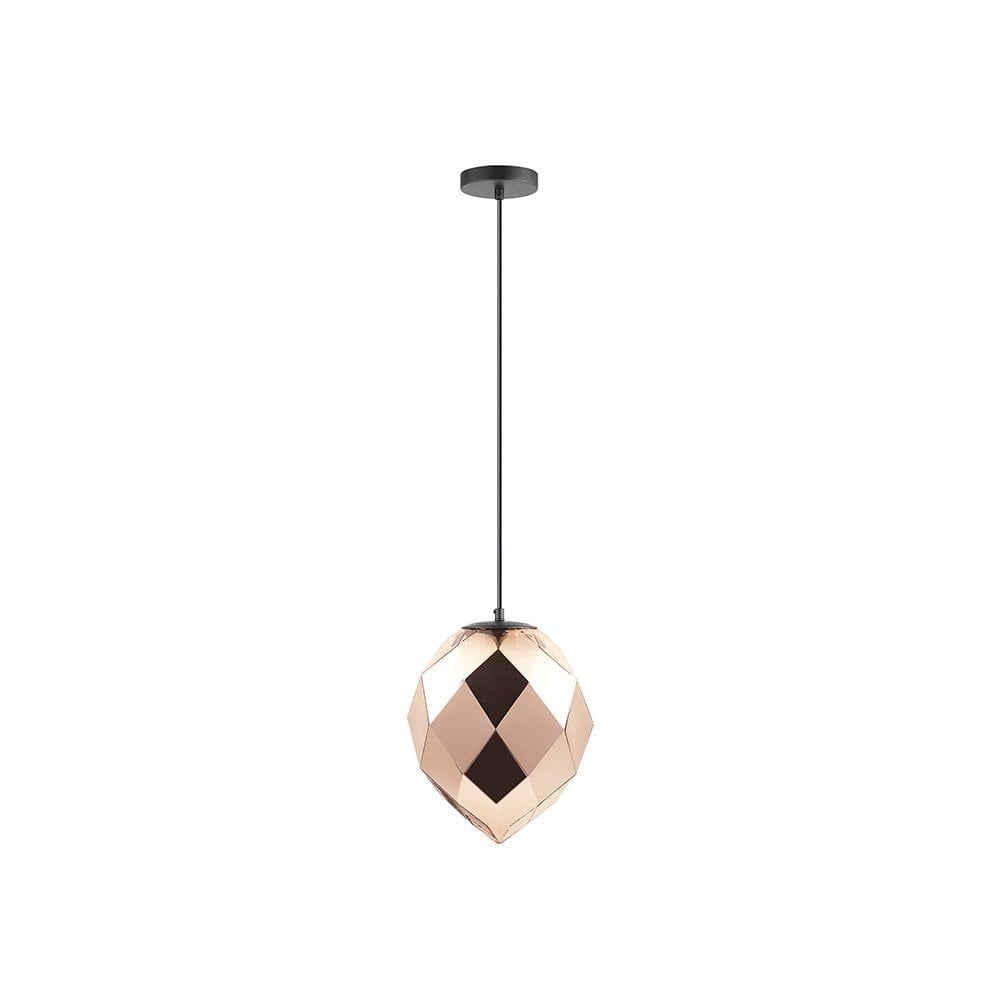
Alternatively, opt for a striking green sculpture lamp base. A green glass sculpture will catch and refract the light for a dreamy and eye-catching effect.
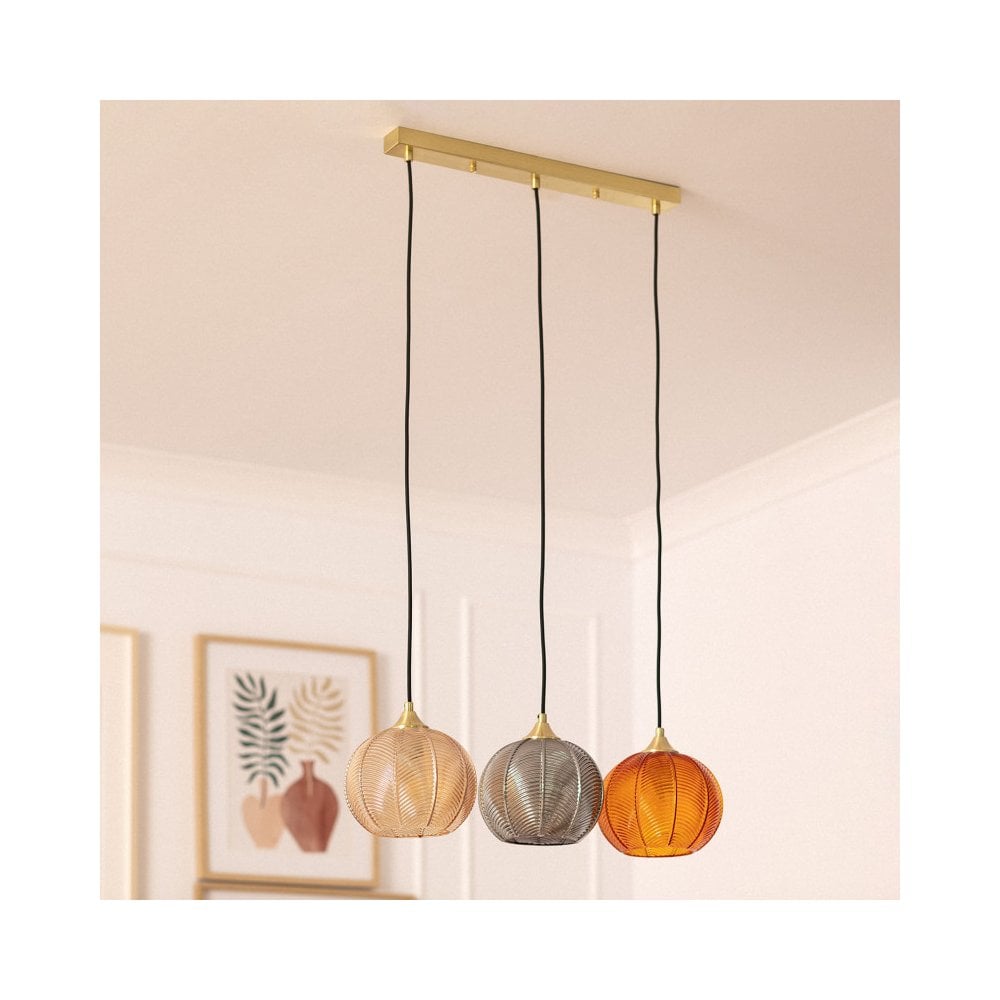
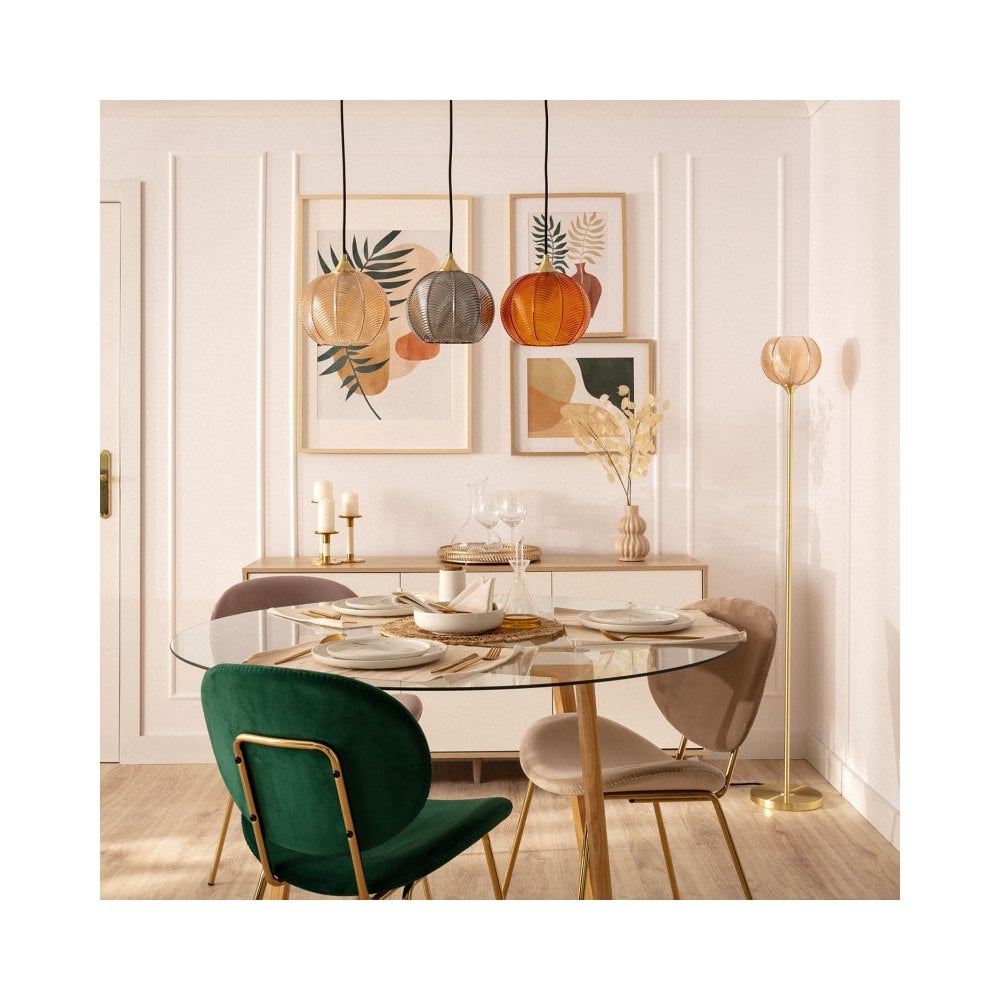
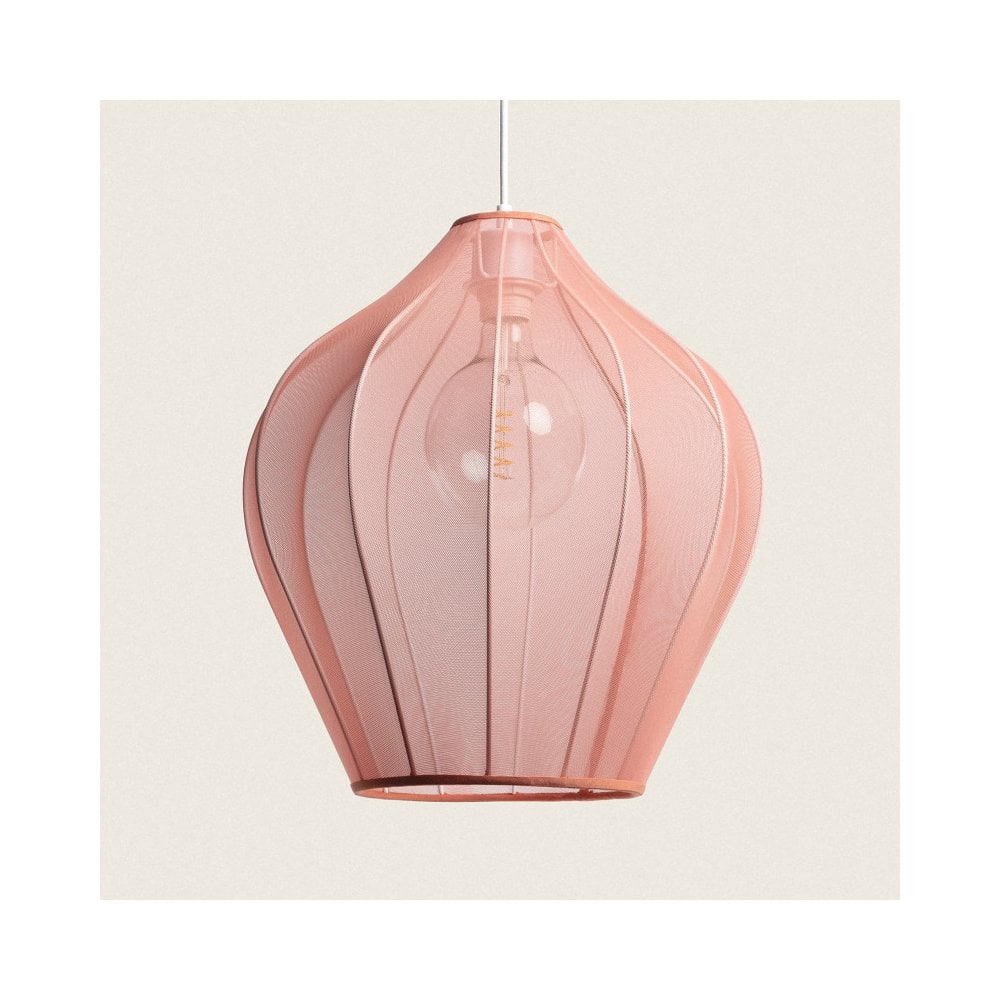
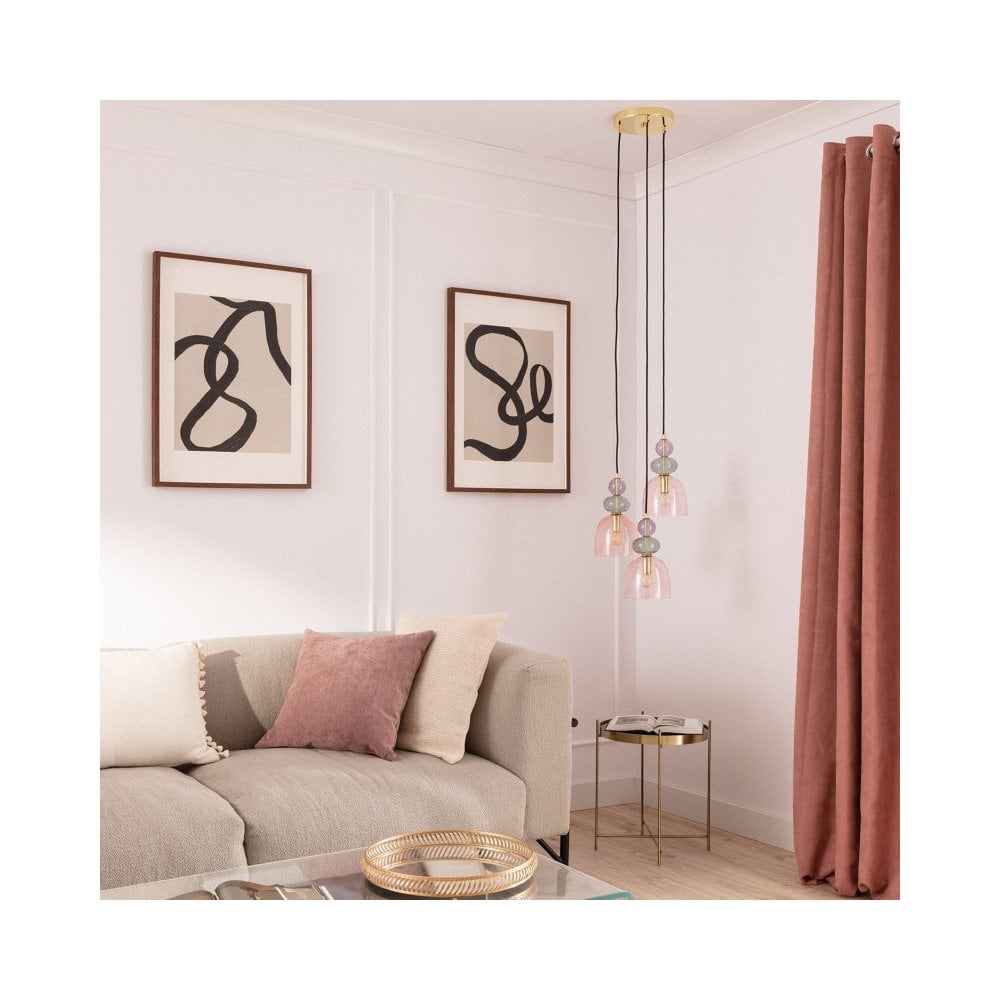
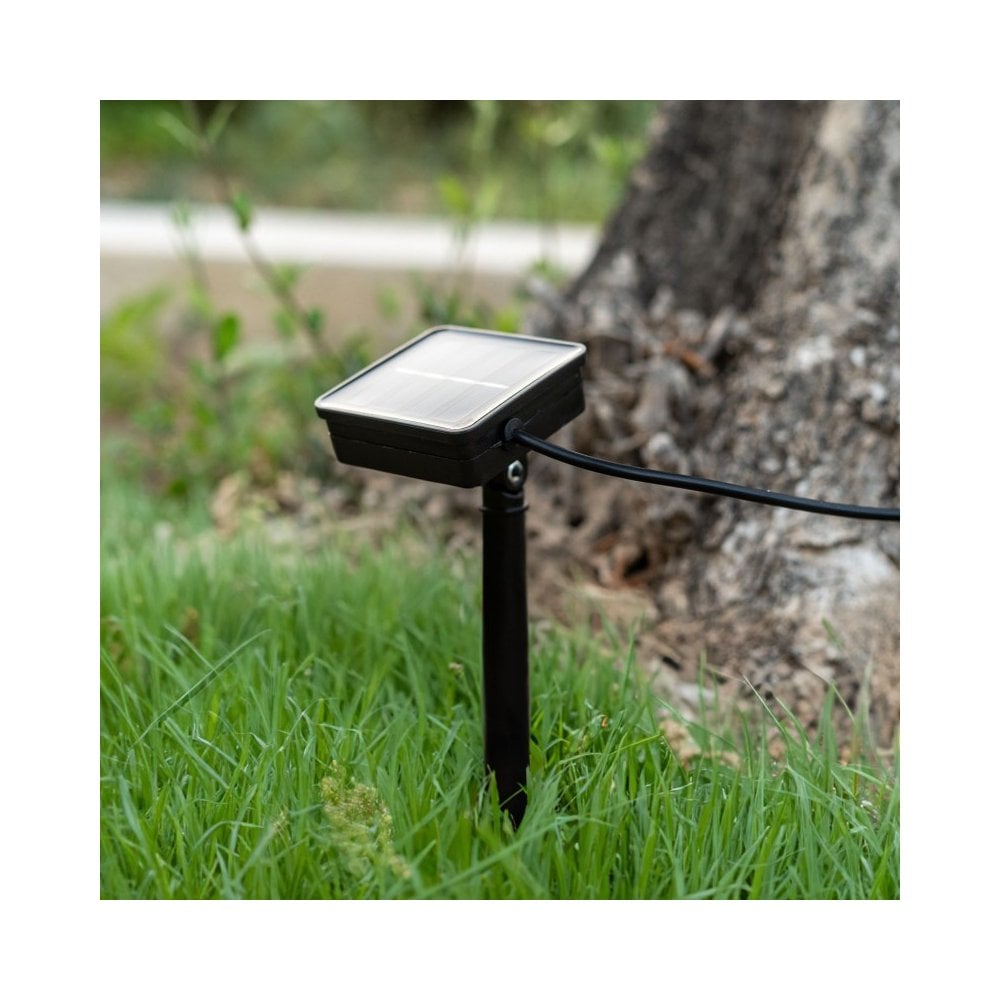
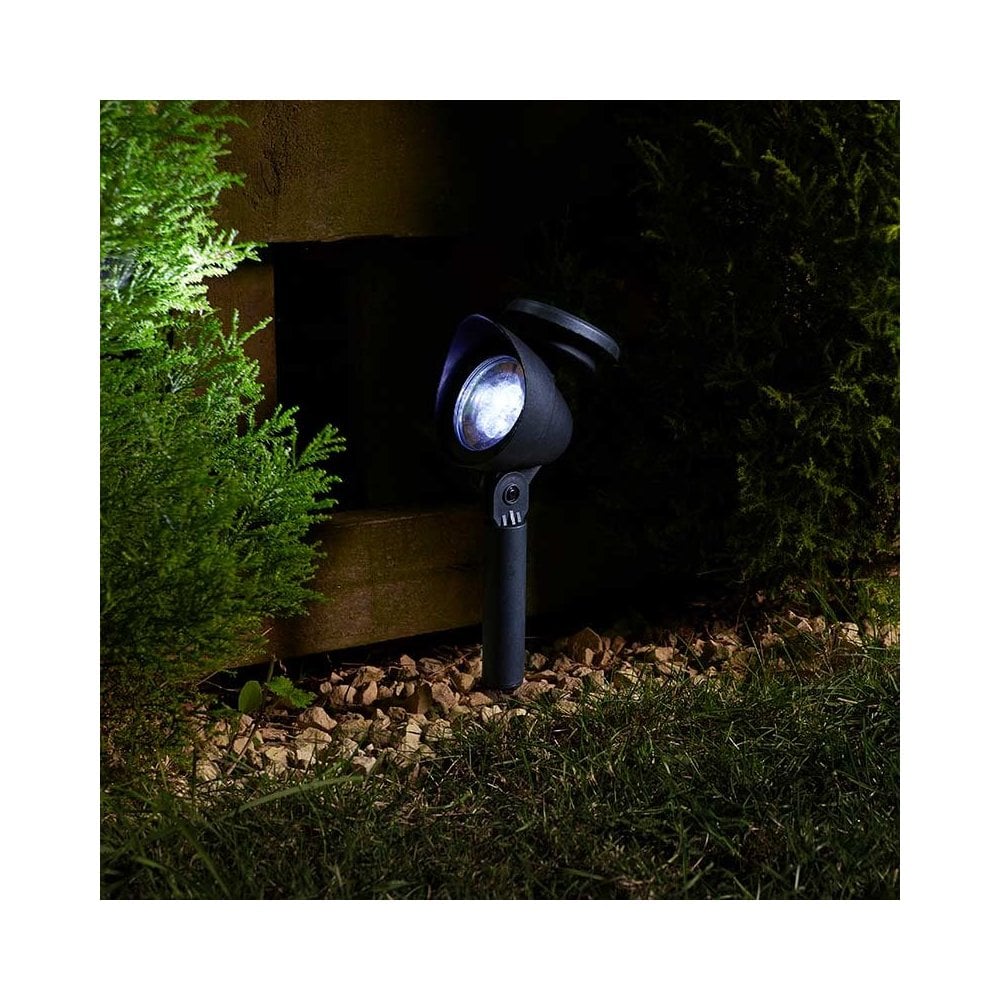
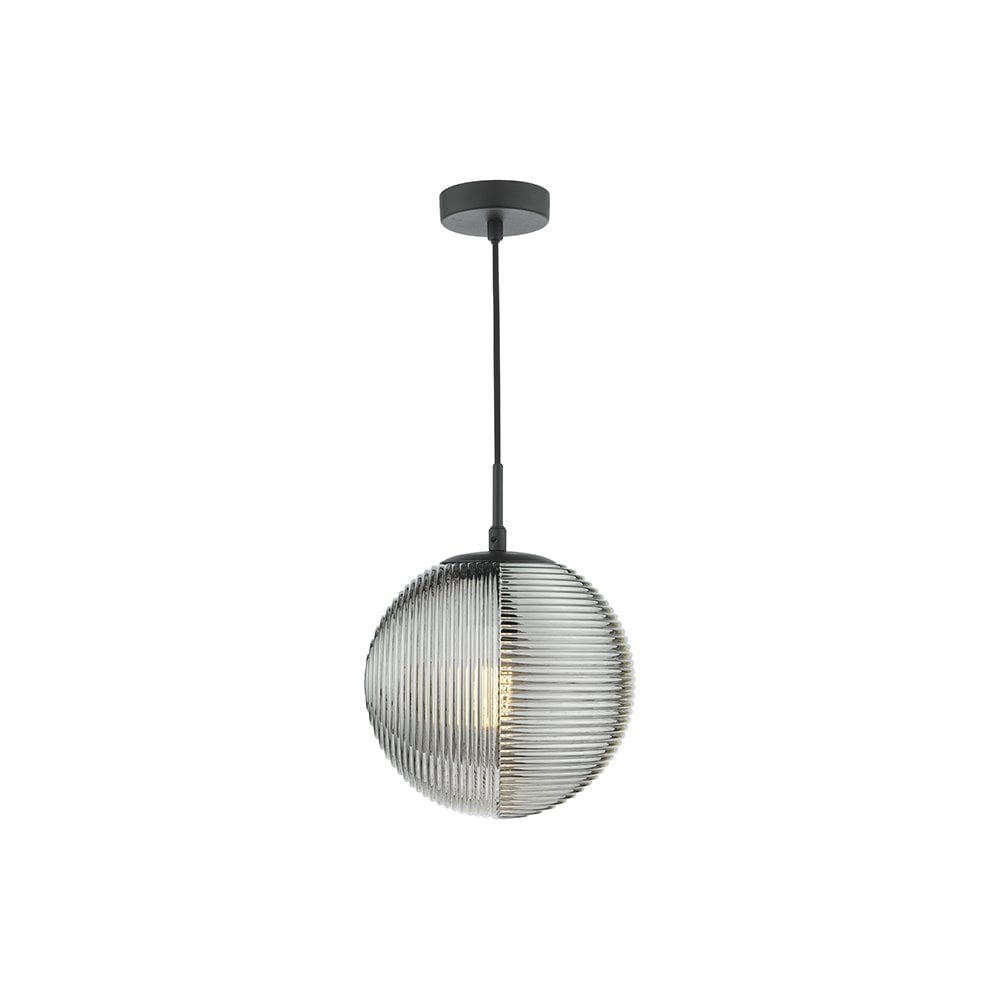
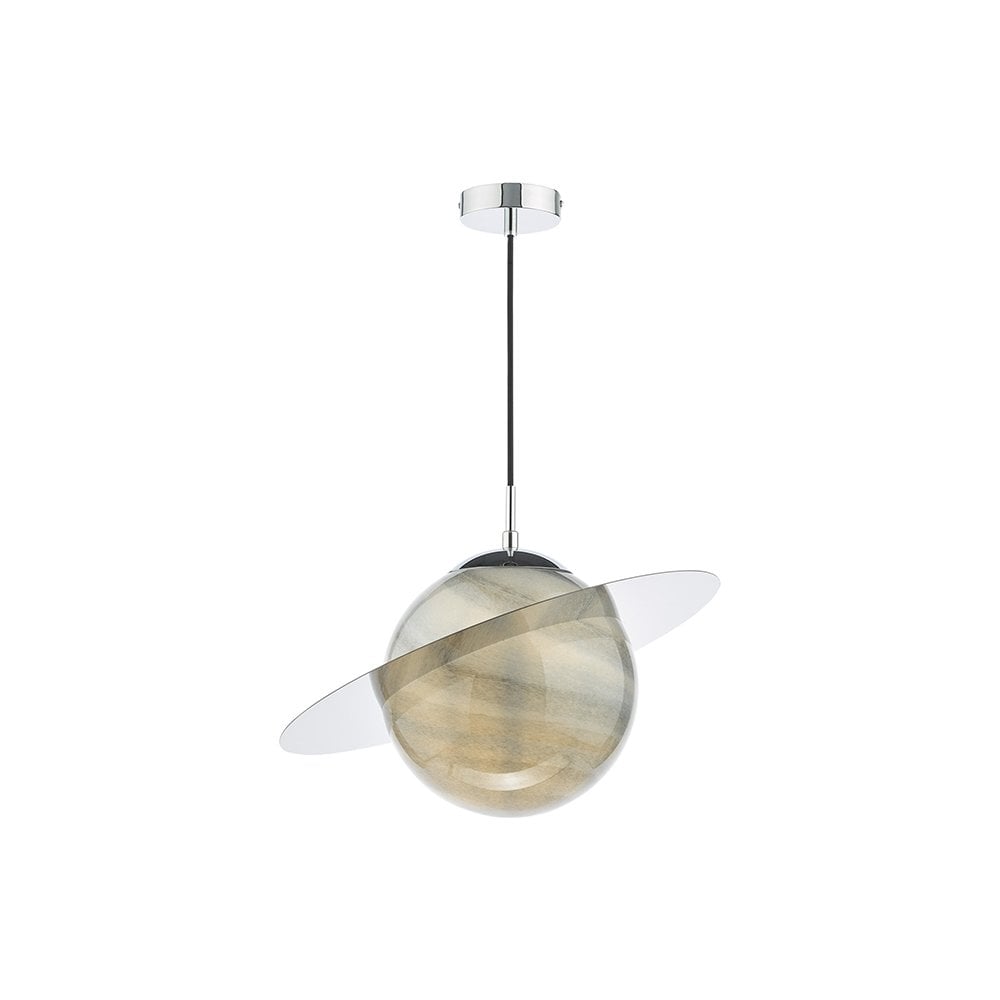
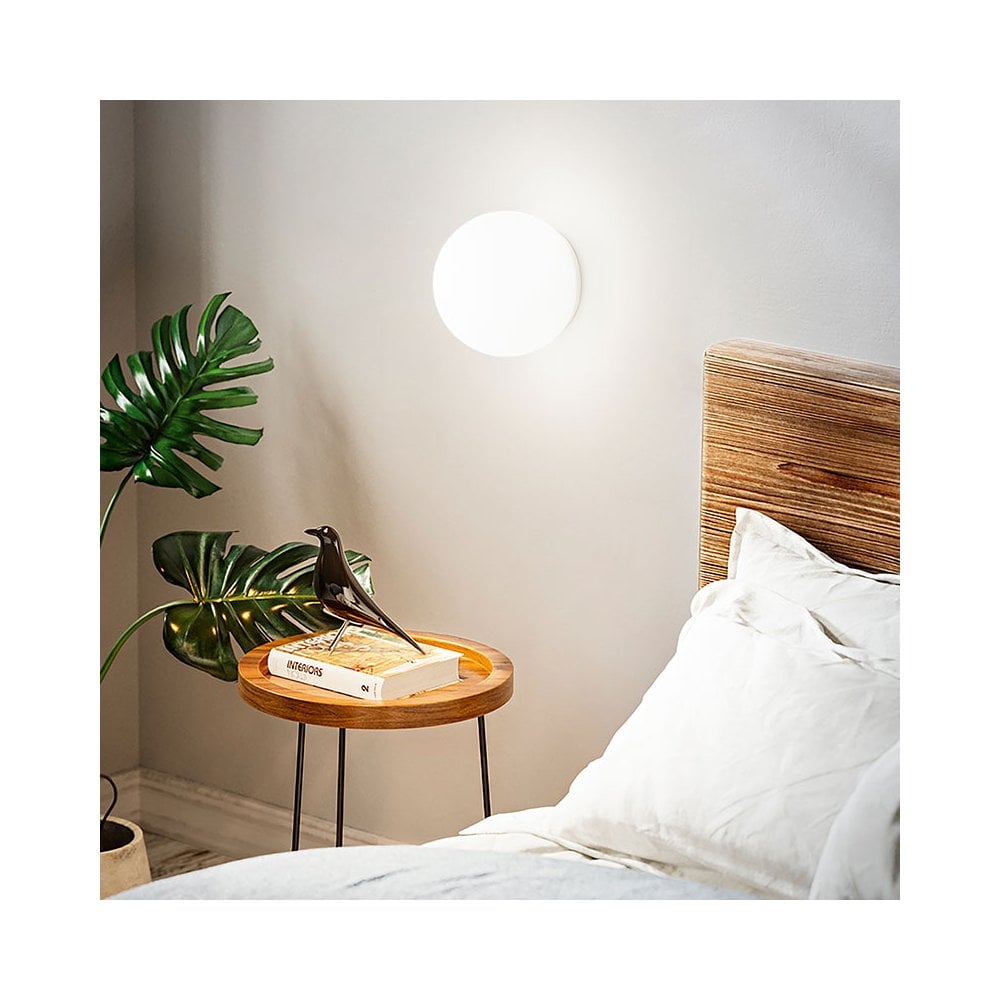
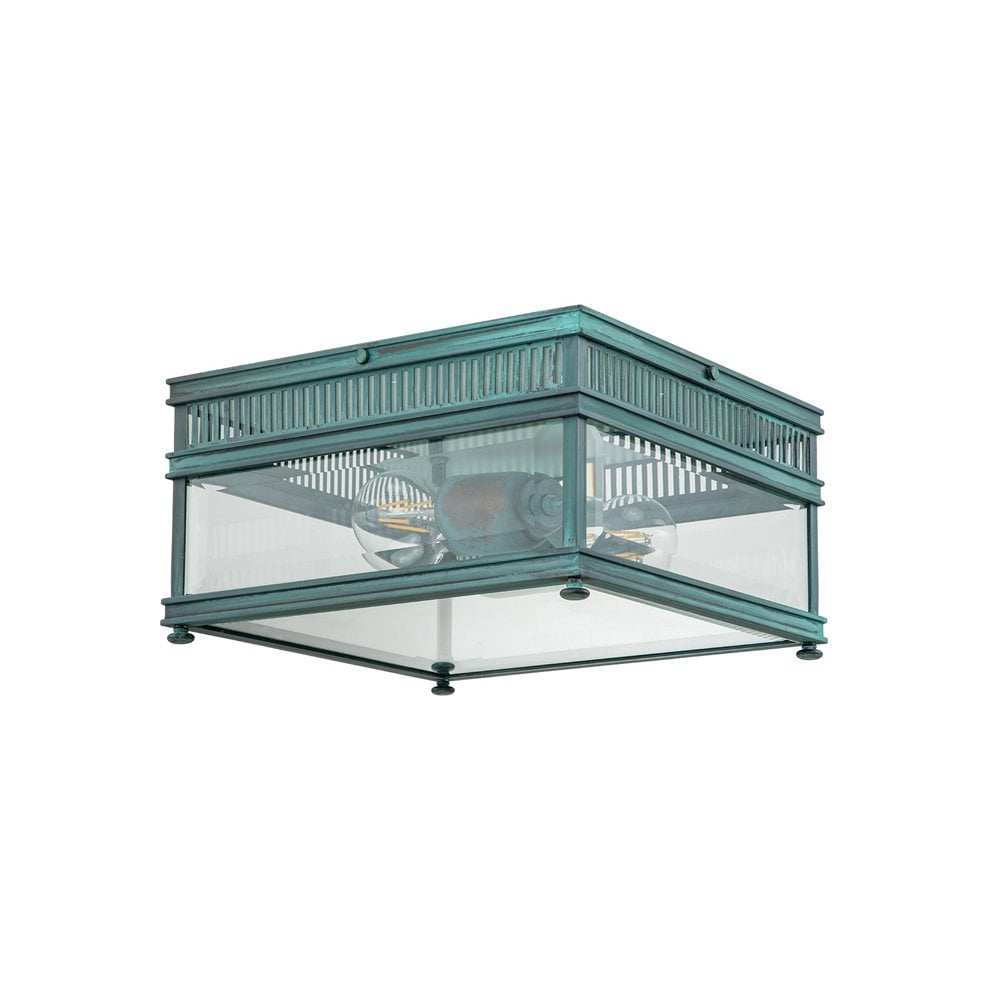
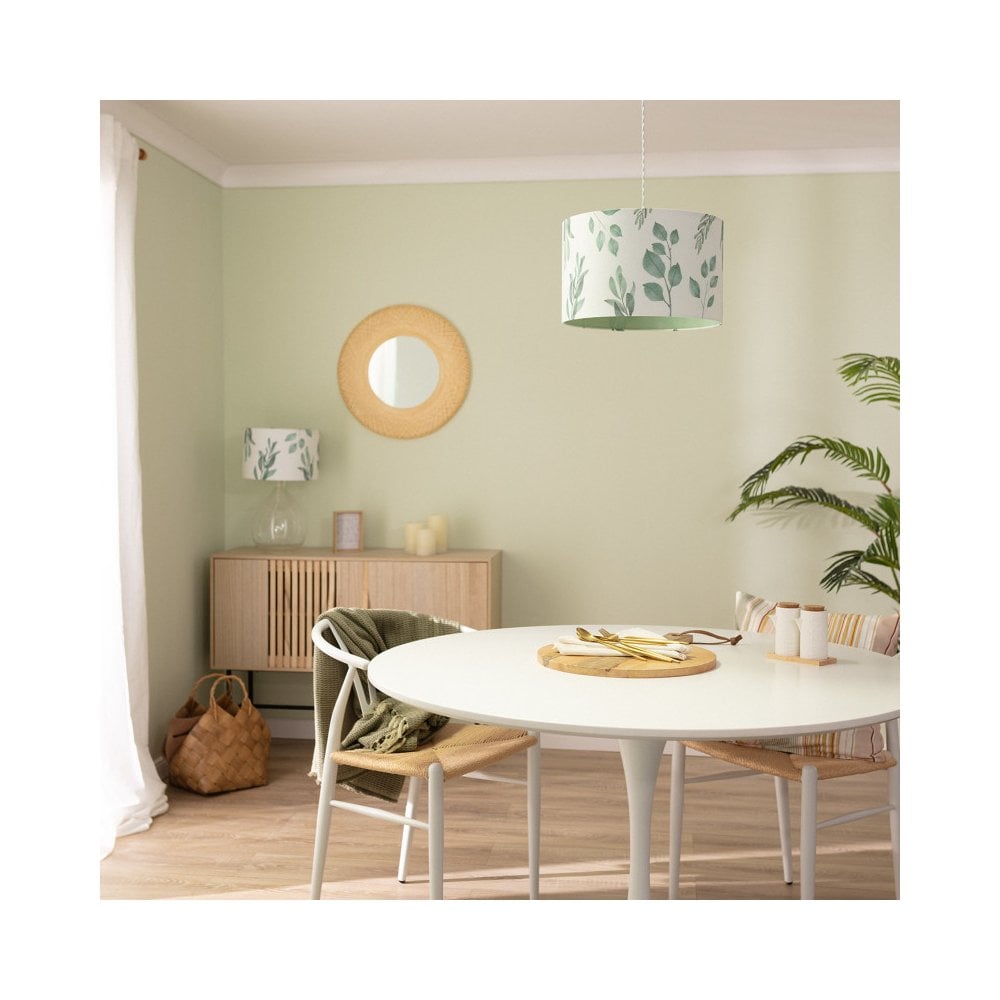
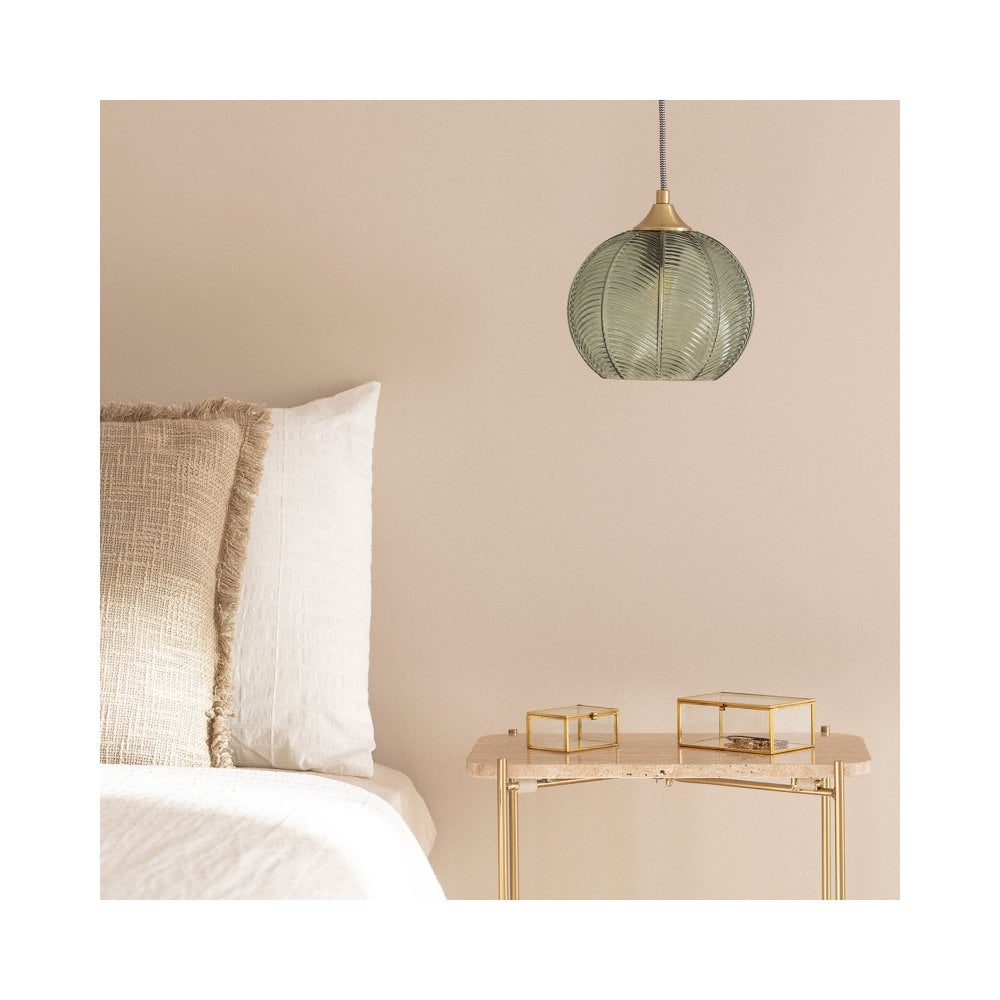
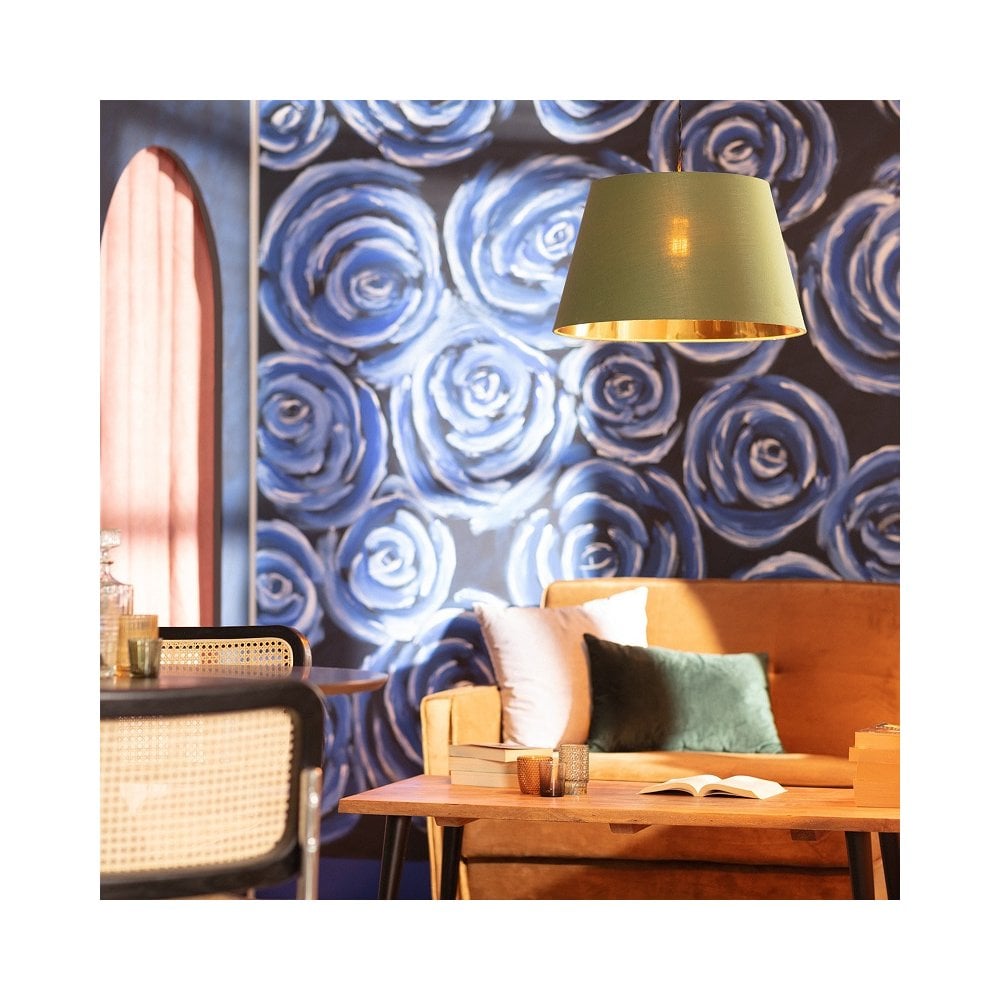
Green pendant lights
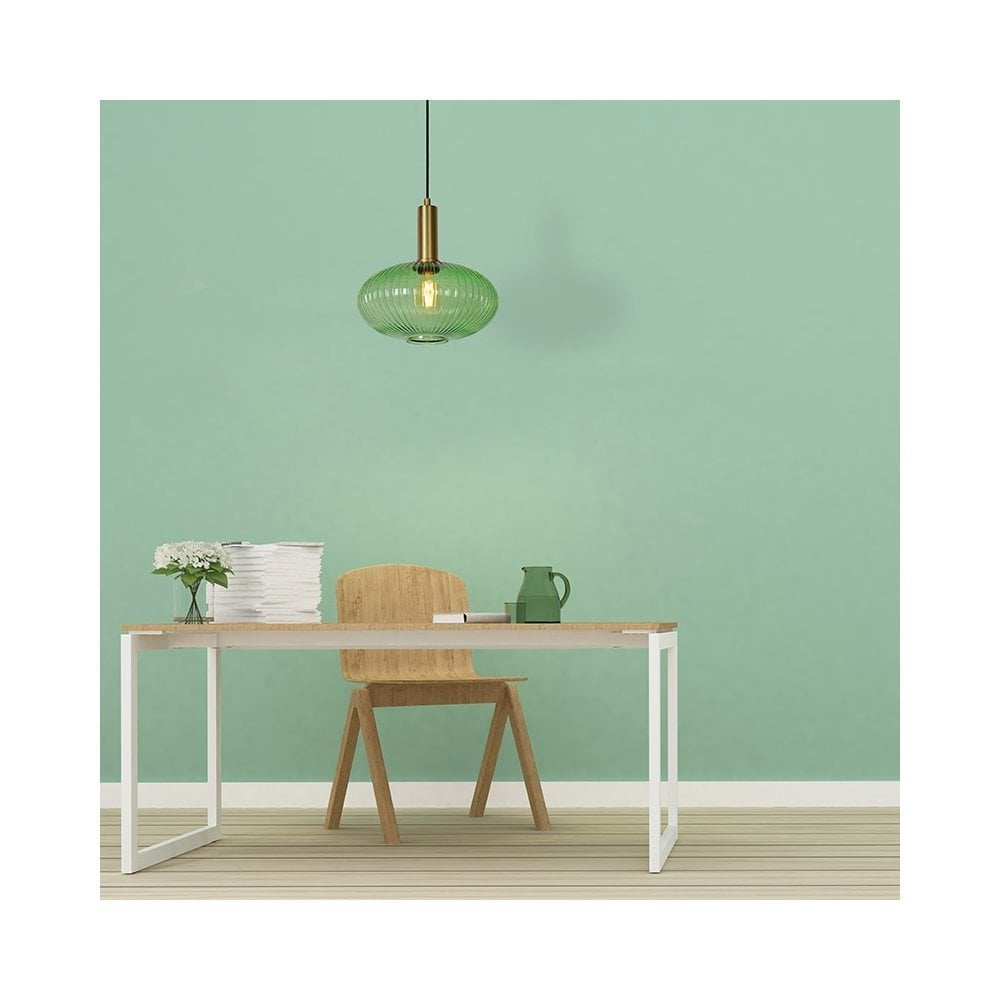
So many variations of green pendant lights can complement your home, add a pop of colour or help create a serene green atmosphere.
What colour goes with green?
Of course, green on its own can be a bit overpowering. Here are a few other colours you can pair with it throughout your interior design to complement green lighting.
White and grey
Pairing green with white will always create a fresh, clean, and crisp look. White provides a classic background for green to be the main focus. However, you can move away from this traditional combination and pair green with grey; it has the same effect but offers a sophisticated and modern touch.
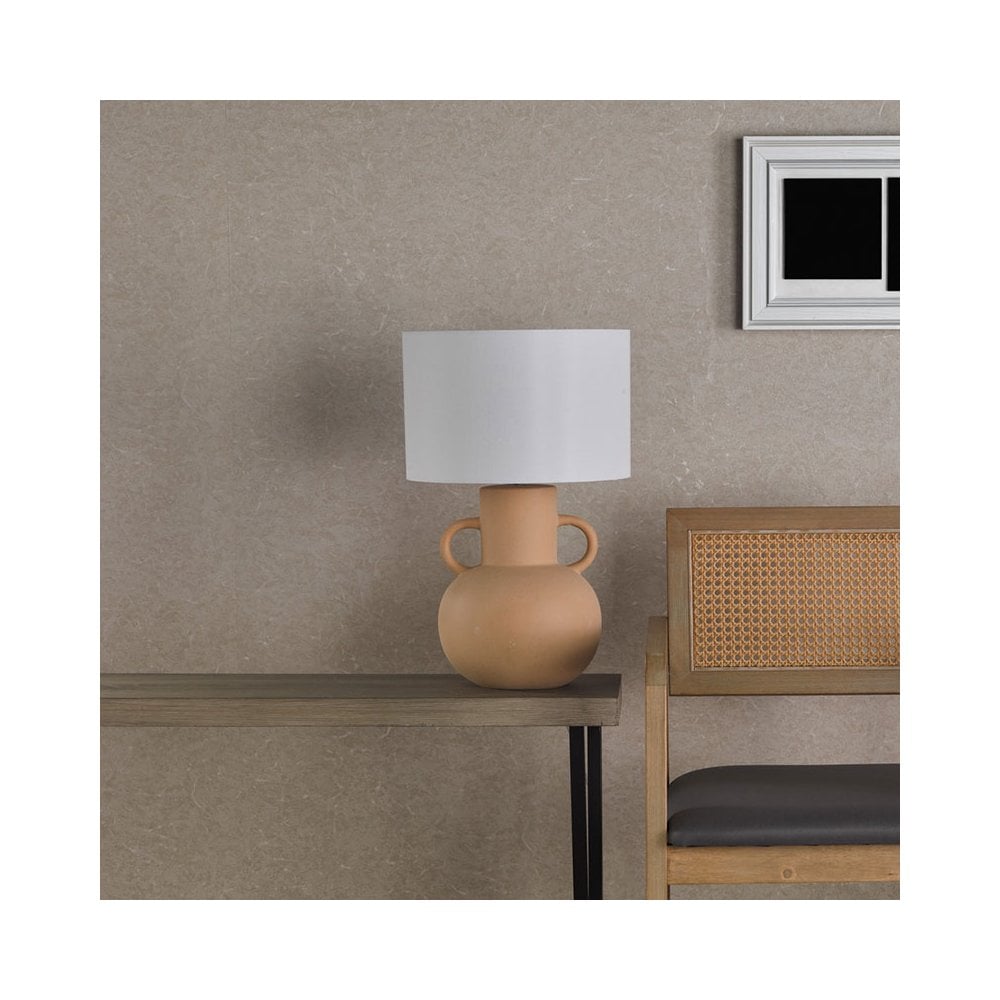
Neutrals and natural browns
Because of its earthy connotations, green goes well with neutrals like taupes, beiges and browns. Add natural materials like linens, cotton, and wood to complement your green lighting.
Black
On the other end of the spectrum, pair rich and sultry greens with black for an elegant and dramatic feel.
Blue
The phrase “blue and green should never be seen” should be thrown out the window! Particularly, rich royal blues and turquoise create a refreshing combination. Alternatively, sky blue or navy provides a calming, harmonious aesthetic.
Pastels
Try pairing a sage green with your favourite pastel colours to evoke spring sensations. Pastel pink will provide a playful, fresh contrast. Lavender will deliver a subtle and elegant pairing, and yellow and green is a bright, cheerful and vibrant combination.
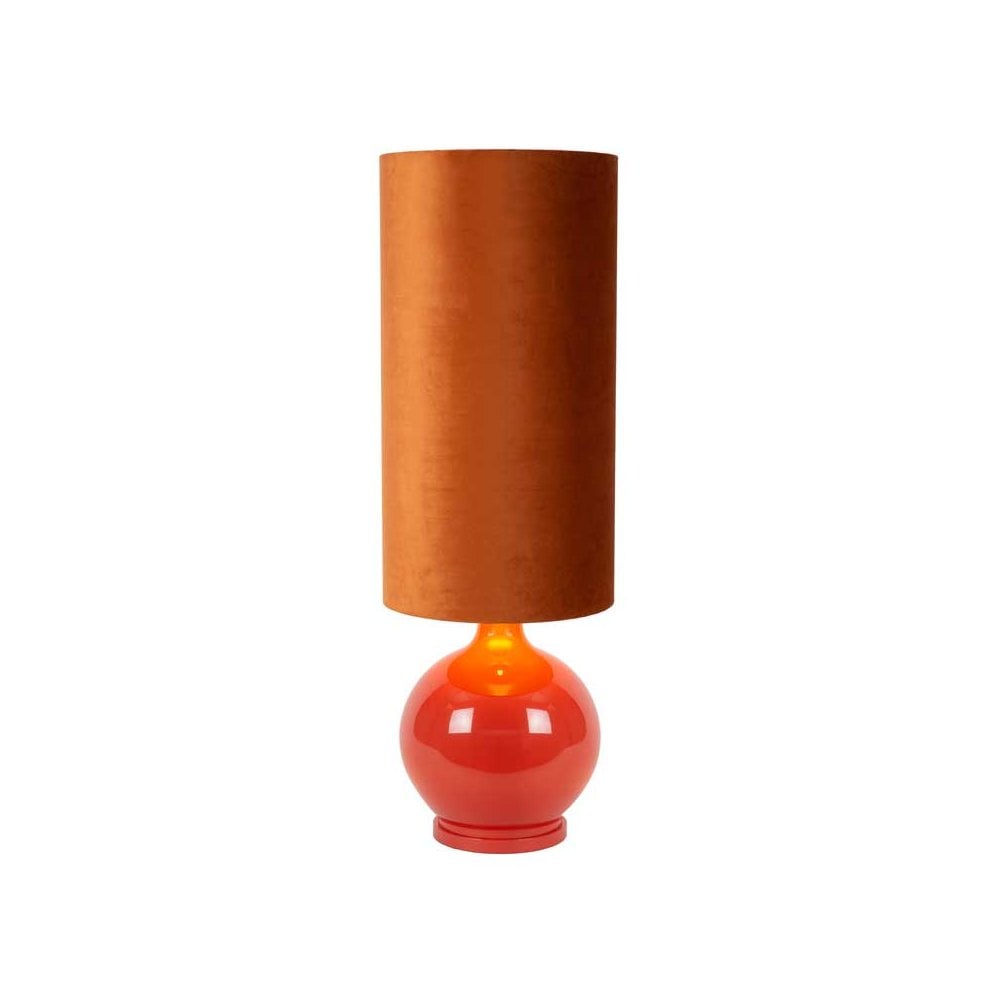
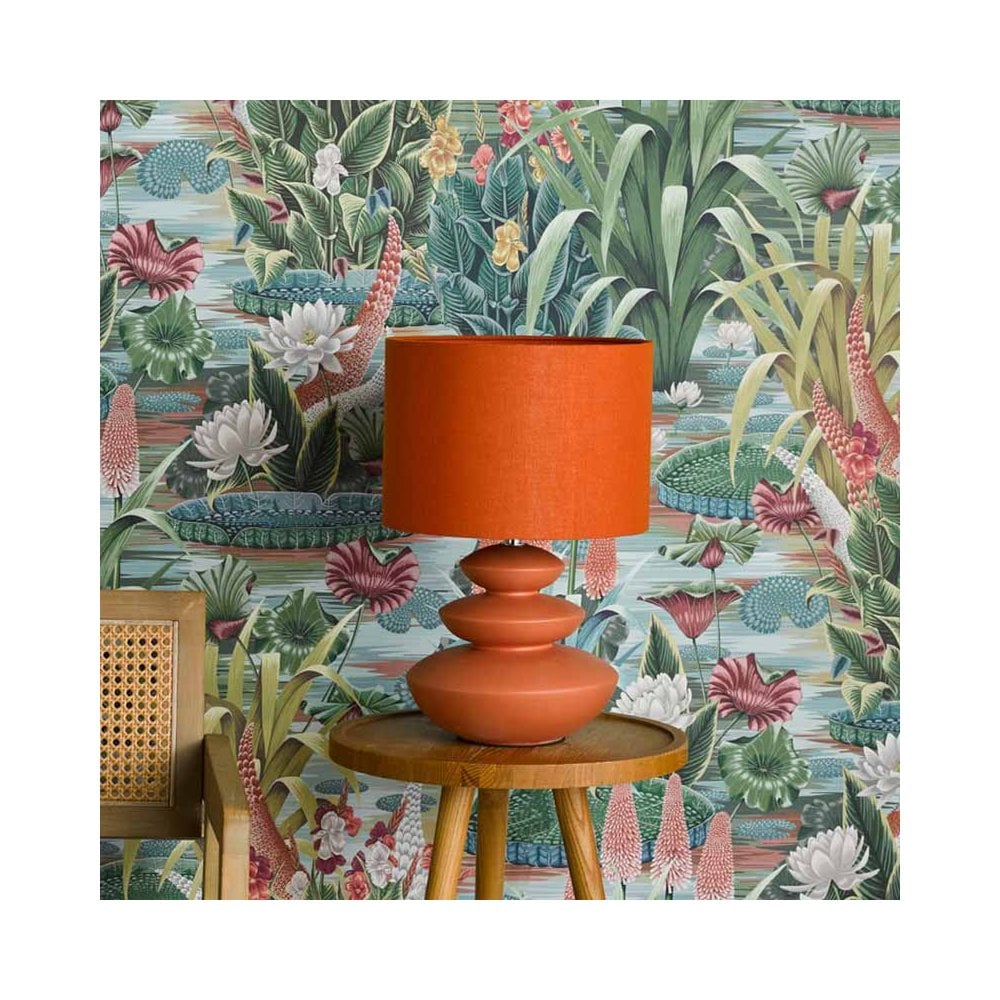
Coral and Peach


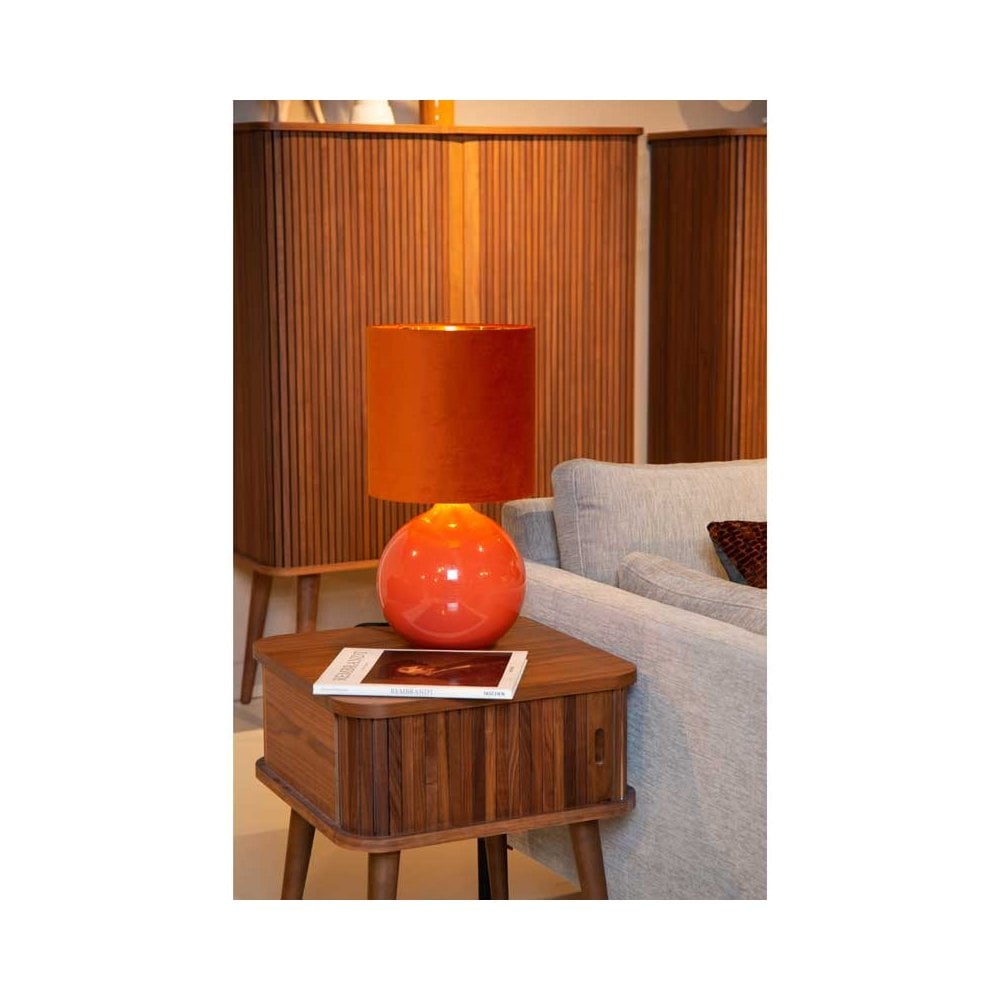
Why not pair your green lighting with a contrasting coral or peach colour to create a vibrant and warm feel?
Brass
Green also goes well with gold and brass metallic hues for a shimmering opulence.
Green lighting at Castlegate Lights
We hope you’ve taken some inspiration from this guide and a sense of zeal towards your green interior design mood board.
Whether you prefer the moody presence of Art Deco emerald or a wafty spring green pallet for your cottage-core interior design, our green lighting collection has something for every style.
Shop online now and transform your home at Castlegate Lights.
Related blogs: